This article outlines the procedure to complete your installation after your Target account is authorized by a Customer Success Manager (CSM).
Only Account Administrators can configure the Target for Eloqua application.
Note: If your organization restricts network access to third party applications, please ask your IT administrator to add the following IP address ranges to allow updates from Demandbase:
-
52.4.63.192 to 52.4.63.223
-
64.56.203.0 to 64.56.203.255
Configuring Target for Eloqua consists of the following tasks:
Signing up for Target
Please reach out to your customer success manager (CSM) to sign up for Target. Also, for any credit allocation and authorization of your account please reach out to your CSM.
Creating an InsideviewId Custom Field
If you are setting up Target for Eloqua integration, it is mandatory for you to create an InsideviewId custom field in your Eloqua application with string datatype. You must map this field with any string datatype field in Target to sync leads into your Eloqua application.
Configuring Target for Eloqua
Follow these instructions to authenticate and configure Target for Eloqua:
| Step | Description | Details |
|---|---|---|
| 1 | Log into Target | Once you have Eloqua login credentials, log into Target. |
| 2 | Go to Demandbase | Go to https://my.insideview.com, or if you are on the Demandbase homepage, click Login. |
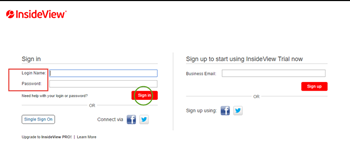
| 3 | Enter login credentials | Enter the Login Name (user ID) and Password for your Demandbase user account and click Sign In.
Note: Only Demandbase Account Administrators can set up the Eloqua integration, so ensure you have logged in with the correct User ID. Account Administrators will see a Settings icon in the top right of the page. |
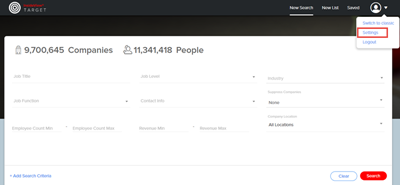
| 4 | Go to Settings | Click Settings icon to expose the Integration tab.
|
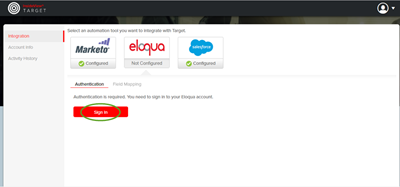
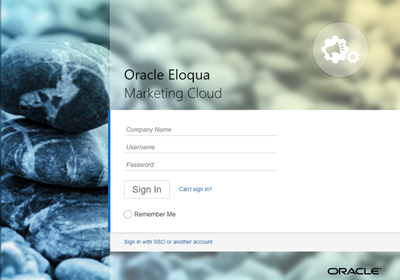
| 5 | Go to the Eloqua tab | On the Configurations window, click the Eloqua icon and on the Authentication subtab, click Sign In.
|
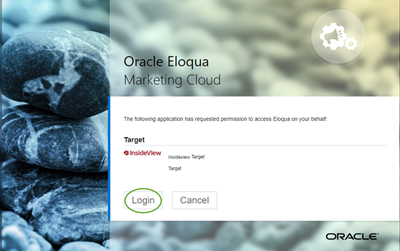
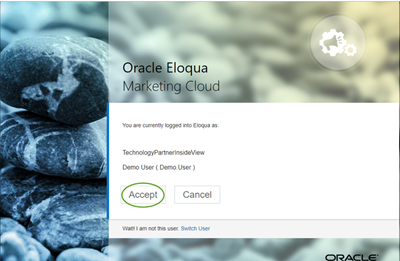
| 6 | Authenticate Eloqua access |
|
| 7 | Save | Once configured, the Eloqua logo gets updated with a green Configured badge, and Field Mapping becomes available to set up. |
| 8 | Check custom field mapping |
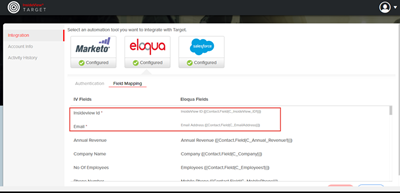
Custom Field Mapping is mostly automated. You can review the custom field mapping to see how Demandbase matches Target fields to standard fields in Eloqua. Note:If InsideviewId and Email fields are mapped you must create these custom field with the string datatype in your Eloqua application and map them in Target. Otherwise, you cannot perform a Sync to Eloqua.
|
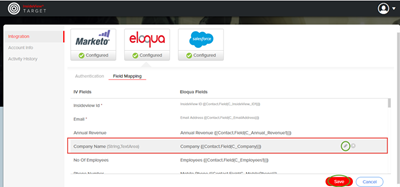
| 9 | Map Demandbase and Eloqua custom fields. | Use the Field Mapping subtab to map the any field to a new custom field as illustrated.
For example, Company Name automatically picks up the Eloqua field Company Name. If you wish to edit the default mappings, select the pencil icon, which appears when you hover a field name. You can select any string field in Eloqua to map it to the Company Name. |
| 10 | Refresh Eloqua | Refresh the Target instance in order to see this field in the drop-down list. |
| 11 | Save changes | Click Save to make sure all changes are saved. |
Verifying a Successful Set Up
After your authentication credentials are configured and field mapping is complete, the last step is to verify that a list can be successfully exported.
Because Target is a credit-based system, and you do not want junk data in the system, it is best to create a list size of 1 for testing purposes.
De-duplication depends on email in order to be effective, and since most marketers want leads with email address, add the Contact Info field from in + Add Search Criteria options and select email.
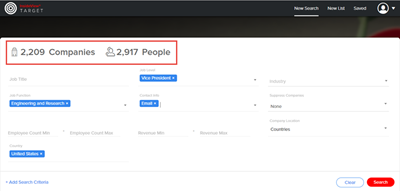
Build a sample list with Job Levels selected to further refine the People list as illustrated below:
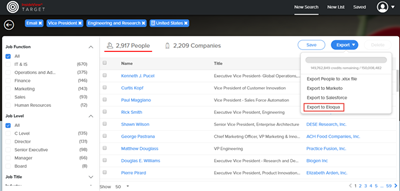
Click Search and then select Export to Eloqua as illustrated:
Exporting a People List from Target to Eloqua
Target allows you to export People lists directly into your Eloqua automation system.
| Step | Description | Details |
|---|---|---|
| 1 | Log into Target |
Log into the Target with your credentials. |
| 2 | Export search results into Eloqua |
Once the Eloqua account credential and field mapping is complete, click Export to Eloqua from the drop-down menu. |
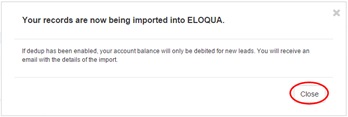
| 3 | Accept sync messages | When you click Export to Eloqua, a series of messages will appear as illustrated below:
|
| 5 | Receive an email notification | Once the People list is exported into Eloqua, you will receive an email notification confirmation with number of people that were moved to your Eloqua application.
Once People list is imported, you can be confident that the set-up is complete and successful! Note: You can export a maximum of 50,000 records in an .xlsx file and sync upto 10,000 records in your Eloqua Marketing Automation system. |
