This article provides instructions to configure InsideView Refresh navigation link in custom sitemap in any Dynamics CRM UCI app. By default, the InsideView Refresh navigation link is added to the Sales app (web version) when InsideView Refresh is installed.
To enable the InsideView Refresh navigation link on any UCI App’s sitemap, follow these steps:
| Step | Description | Details |
|---|---|---|
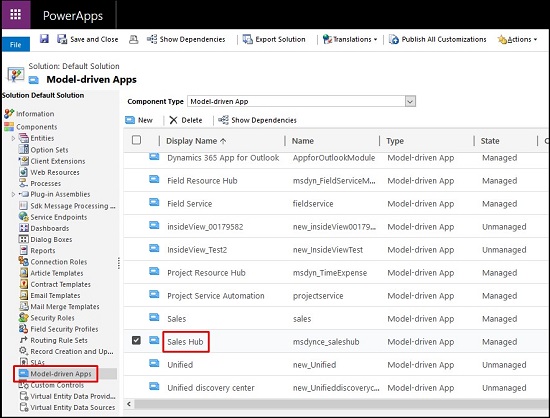
| 1 | Open Sitemap Editor | Log in to Dynamics CRM with System Administrator or System Customizer credentials.
The PowerApps Designer opens in a new window. |
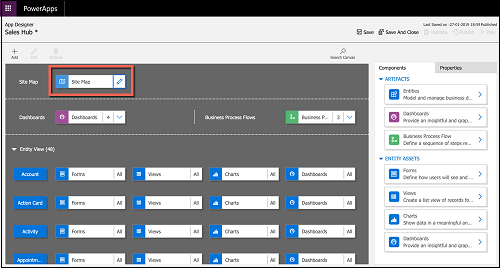
| 2 | Edit the sitemap | In the PowerApps Designer, select the Site Map you would like to add the InsideView Refresh link on and click the edit icon  . .
The Sitemap Designer opens in a new window. |
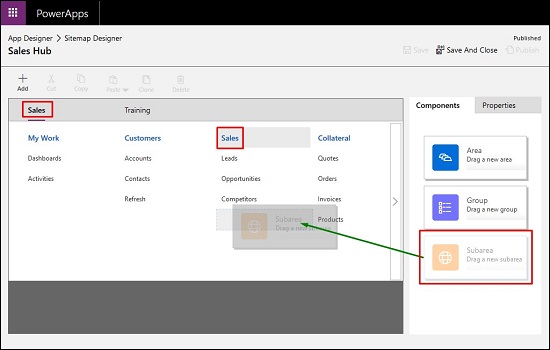
| 3 | Add Refresh subarea | In the Sitemap Designer, select Sales area. In the selected area, select the Sales group. Drag and drop a new subarea from the Components panel into the selected group as illustrated:
|
| 4 | Add the Refresh subarea properties | Enter the following properties for the new subarea:
|
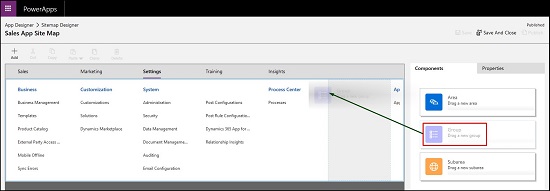
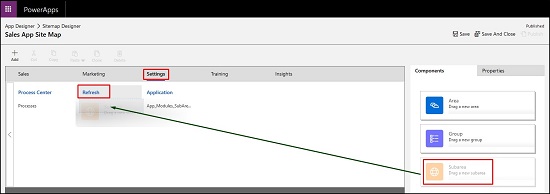
| 5 | Add a Refresh group | Select the Settings area and drag and drop a group from the Components panel, into the area.
Enter the following property values for the new group:
|
| 6 | Add the Refresh Settings subarea | Select the newly added Refresh group and drag and drop a subarea from the Components panel to the group.
|
| 7 | Add the Refresh Settings subarea properties | Enter the following properties for the new subarea:
|
| 8 | Save and publish customization | Click Save.
Once the changes are saved, click Publish. Now, you can see the Refresh navigation links on the custom sitemap of the UCI app. |