This article provides instructions to upgrade to the InsideView Unified Package to view the Apex Analytics report.
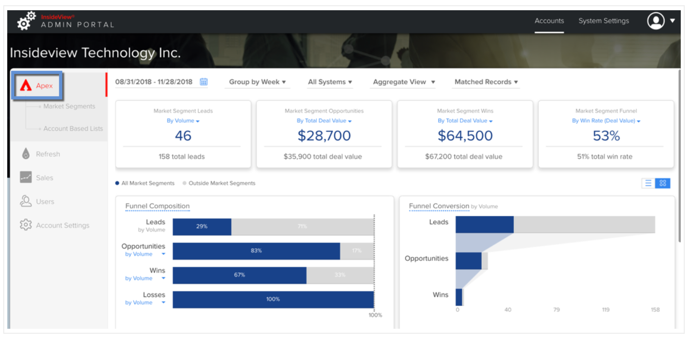
The Apex Analytics report is useful for both Marketing and Sales teams. The Marketing teams can view opportunities in the pipeline, while the Sales team can focus on closing opportunities or target new business deals. This report aligns both teams and breaks the sales funnel in different stages of sales and helps you in conversion rates in each stage from (lead → opportunity → revenue).
Notes:
- Analytics for leads will be visible only when you purchase InsideView Enrich solution along with your InsideView Apex license. If your account is provisioned only for InsideView Enrich, then Sales Opportunities analytics will NOT be available or visible.
- If your account is provisioned only for InsideView Sales, then lead analytics will NOT be available or visible.
If you are an existing InsideView user, read the instructions below to upgrade to the latest InsideView Unified solution package.
Prerequisites
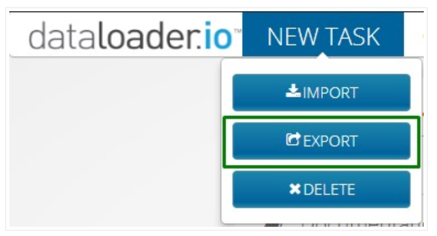
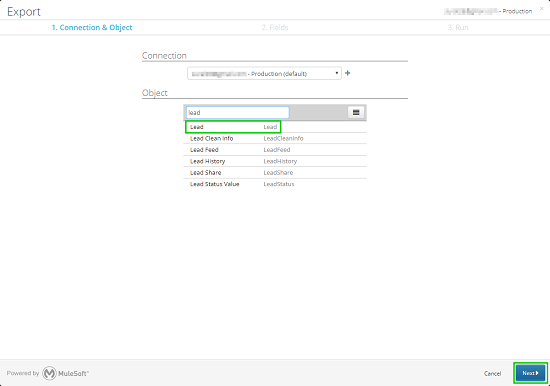
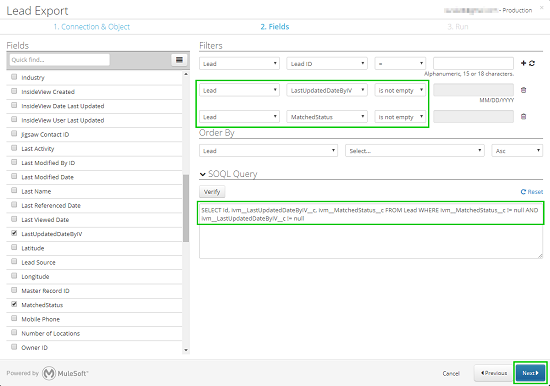
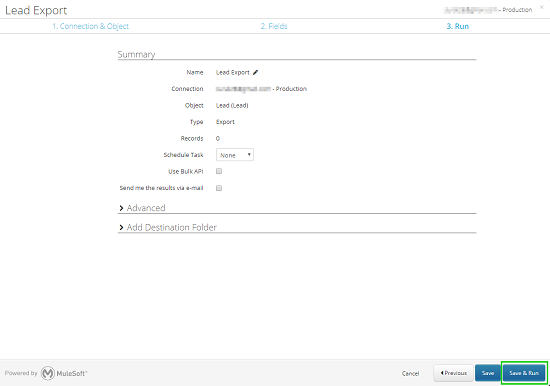
- Please create a backup of your lead data before installing the new package using Data Loader for Salesforce (dataloader.io).
-
Follow these instructions below based on InsideView products that you have purchased.
- If you are an existing InsideView Sales user, you must update to the latest InsideView Unified package directly (see step 3 below). You don't have to follow steps to backup your data.
- If you are an existing InsideView Enrich user with Salesforce CRM integration, you must uninstall the older package and install the latest InsideView Unified package.
To avoid any technical issues, follow the instructions in the exact sequence below:
| Step | Description | Details |
|---|---|---|
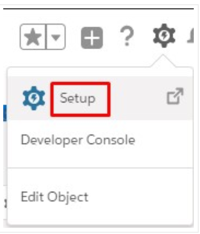
| 1 | Backup your Salesforce Data | Follow these steps to create a backup of your data:
|
| 2 | Uninstall the existing Enrich package | Follow these steps below to uninstall the InsideView Enrich package:
|
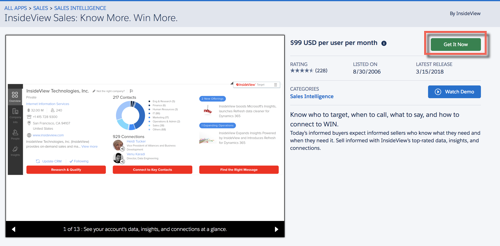
| 3 | Install the latest InsideView package | Click here to find InsideView Unified package in Salesforce CRM and click Get It Now.
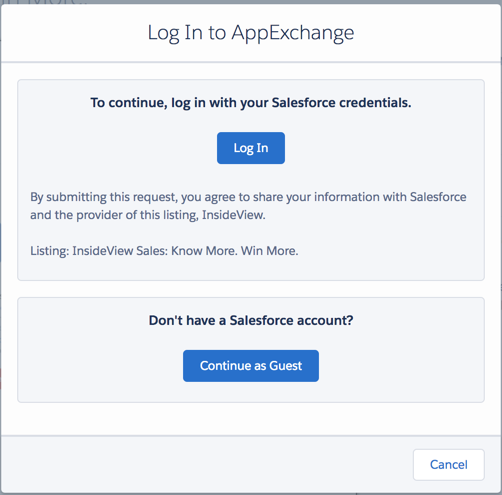
The Login page appears:
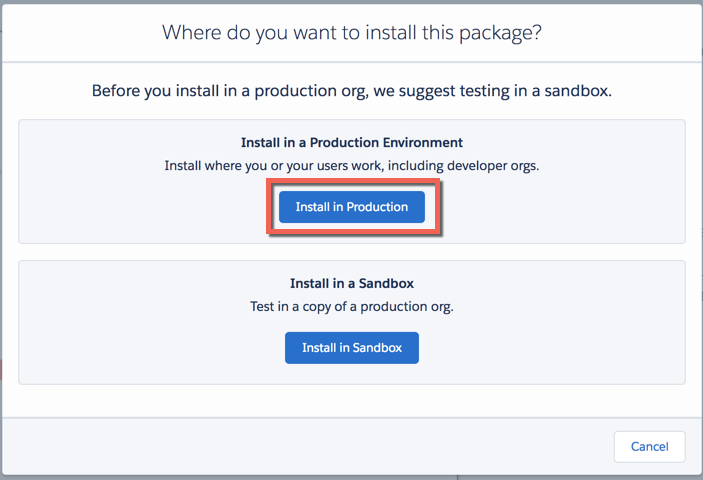
Log in to Salesforce CRM with admin user credentials and if redirected to InsideView Sales package page, click Get It Now again. Select the Install in Production option in the following screen appears:
Select the I Agree to terms and conditions check box and click Confirm and Install. |
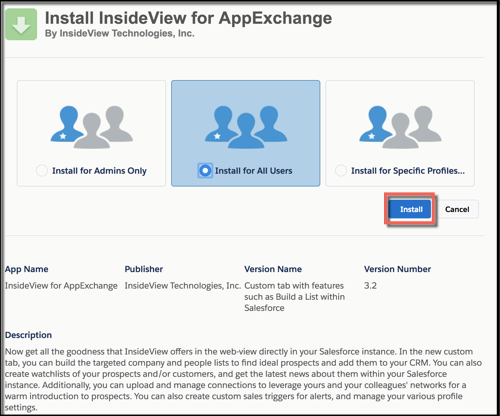
| 4 | Select the installation option | In the Installation page, select the Install for All Users option.
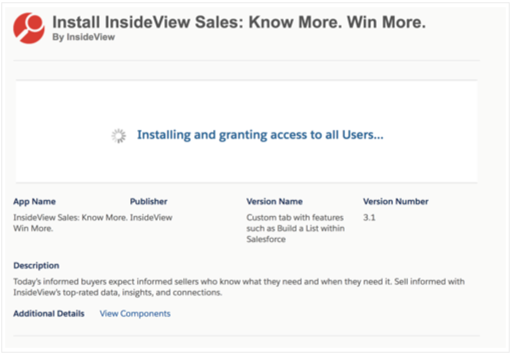
When you click Install, the installation process begins.
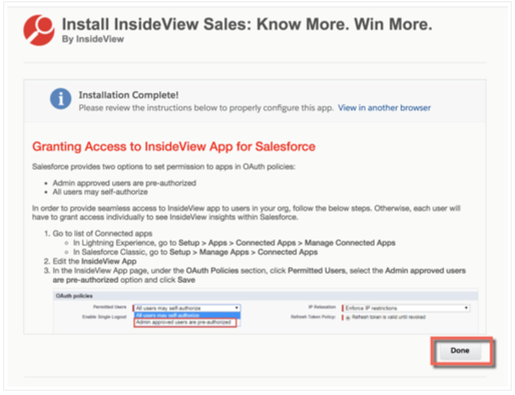
Once the installation is complete, click Done.
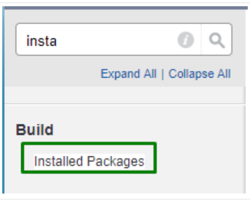
The InsideView Unified package is now displayed under the Installed Packages section. |
| 5 | Verify field creation | After installing InsideView package, when you log in to your Salesforce CRM the following custom fields and workflow components are added to your CRM:
Workflow Rule Components
InsideView Custom Fields
Note: Make sure these outbound rules are active in your CRM. If there are any InsideView Refresh rules written on top of these fields, they need to be updated too to reference the new fields. |
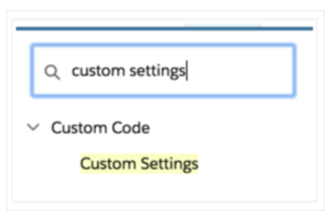
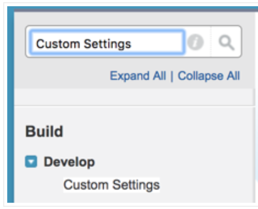
| 6 | Create Custom Settings | To create custom settings, follow these instructions:
This custom setting will notify user whenever a new lead or opportunity is created in Salesforce CRM and will try to match or push updates from InsideView Enrich based on your customizations. |
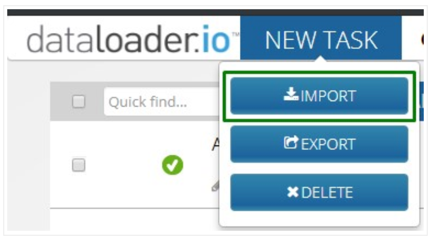
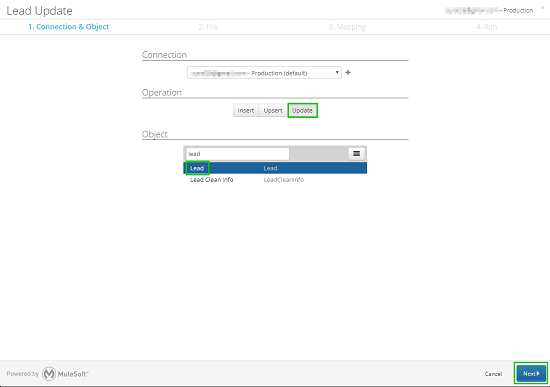
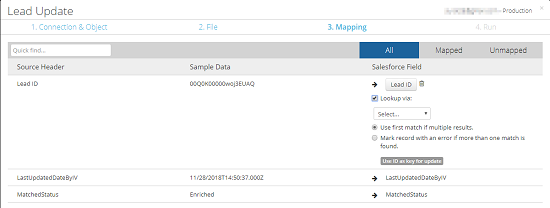
| 7 | Import the data | Follow these steps to import the data that you exported using instructions above, back into your Salesforce instance:
Note: The time taken to complete the data import process depends on the size of data that is to be imported. |
| 8 | Create an Integration | An integration user is required for any organization to create a communication channel between InsideView Apex and their CRM. For more information, read the article Best Practices for Creating an Integration User in Salesforce CRM in our Knowledge Base. |
| 9 | Create Leads in Salesforce | Once you create new leads in Salesforce CRM, the leads are enriched by InsideView Enrich and are visible in Apex Analytics dashboard via the Unified Portal. |
| 10 | Create and View Opportunities | Once you create new opportunities in Salesforce CRM, those opportunities are visible in Apex Analytics dashboard via the Unified Portal. |
