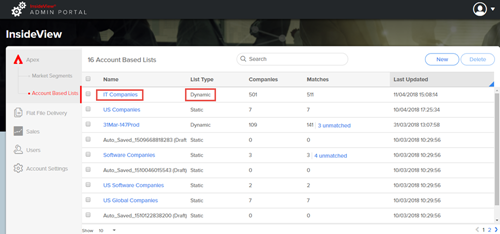
InsideView Apex allows you to create both static and dynamic account based lists. A dynamic list pulls account data directly from CRM via an integration user. Here’s how you can create dynamic account based lists from Salesforce CRM:
| Step | Description | Details |
|---|---|---|
| 1 | Log in to InsideView Apex | Log in to InsideView Admin Portal with user credentials. |
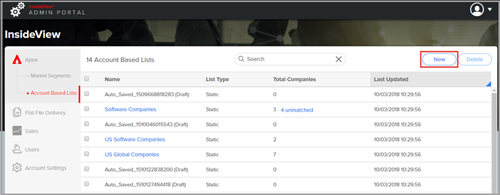
| 2 | Go to the List page | Click Apex in the left pane and select the Account Based Lists option. To create a new list, click New.
|
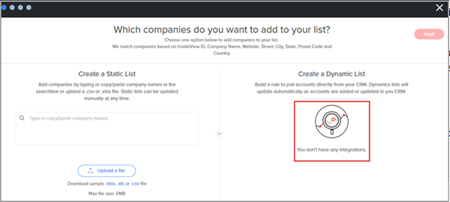
| 3 | Create a dynamic list | In the Account Based List wizard, if your Salesforce CRM instance is not configured the following screen appears:
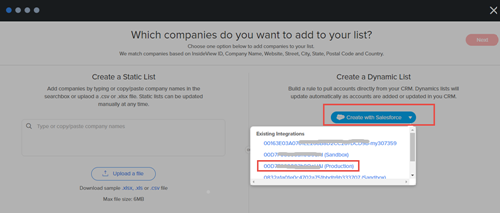
In this case, contact your system administrator to configure your Salesforce CRM integration to allow your CRM to communicate with InsideView Apex for creating dynamic account based lists. If you do have a Salesforce integration configured for your organization, click Create with Salesforce and select the Salesforce CRM Org ID you want to use to create your dynamic list.
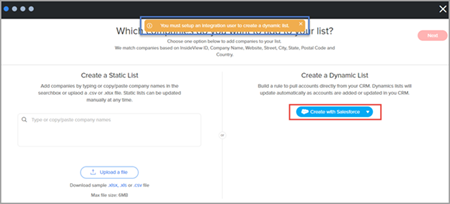
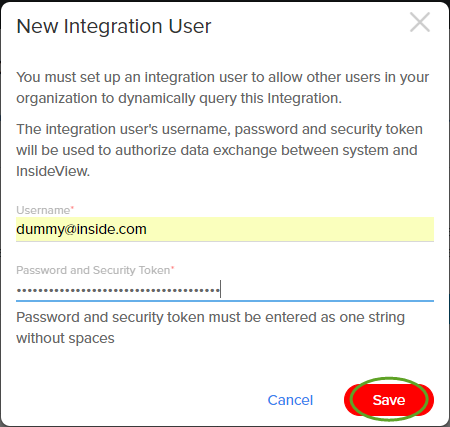
If an integration user is not configured in InsideView Apex for your Salesforce CRM Org ID, the following screen appears:
To learn more about an integration user in Salesforce CRM, read the article “Best Practices for Creating an Integration User” in our Knowledge Base. |
| 4 | Enter the integration user credentials | In the New Integration User dialog, enter the Username and Password plus Security Token together that your Salesforce system administrator has provided.
Click Save. Note: If your organization is not configured with your CRM and Integration User credentials the log screen will appear. For each Salesforce organization, the CRM administrator should configure an API only integration user. To learn how to edit integration user credentials, read the Editing Integration User Credentials in InsideView Apex section. |
| 5 | Select a Salesforce ID | Once the CRM Org is configured, click Create with Salesforce and select a CRM ORG ID that you just configured with an integration user credentials or any existing CRM ORG ID with a preconfigured integration user.
|
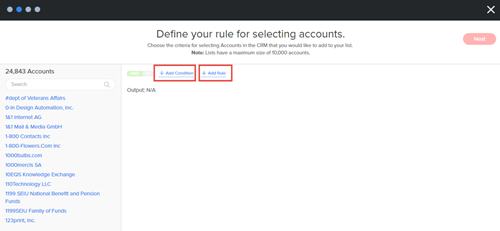
| 6 | Define rules | If the Integration User credential matches with CRM organization ID, the Define your rule for selecting accounts screen appears.
You can build a rule for selecting accounts by clicking either click +Add Condition or +Add Rule.
|
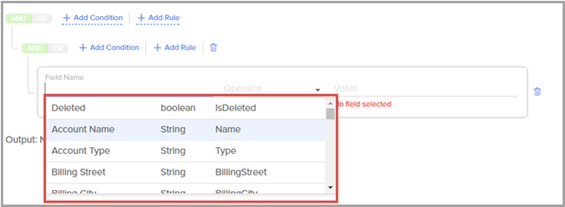
| 7 | Add condition | When you click + Add Condition, enter the following details to define the condition:
Use Case Examples Here are few use case examples of filters, showing the different fields used in Salesforce CRM with an operator and a sample value:
|
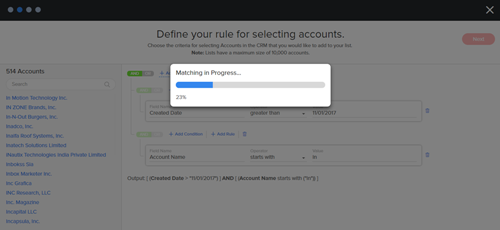
| 8 | Start matching process | Click Next. The account matching process begins.
|
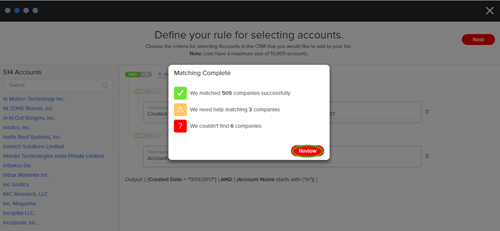
| 9 | Review Matches | Once the matching process is completed, click Review.
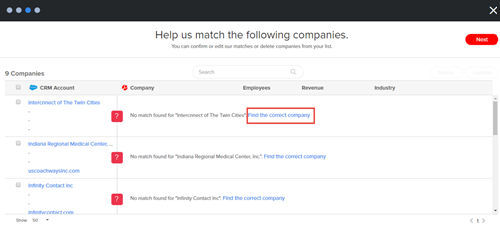
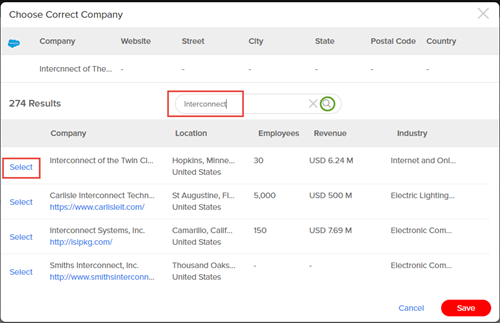
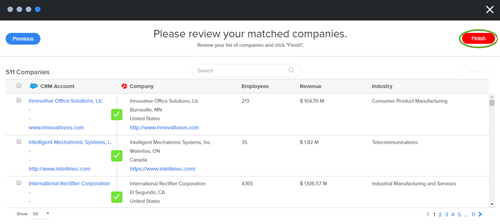
If a company match is not found, click the Find the correct company link in the following screen below: Search for a company and click the Select link to choose a correct one, then click Save. Once all company matches are found, click Next to review all matched accounts that are pulled from Salesforce CRM and click Finish. |
| 10 | Save | Enter the name for your dynamic account based list and then click Save.<
After the list is saved, you will it find in the home page for Account Based Lists. |
