This article provides instructions to enable the InsideView Data Integrity Update button for Account, Contact, and Lead page layouts in your Salesforce instance.
The Data Integrity Update button allows users in your organization to quickly update Accounts, Contacts and Leads with InsideView’s comprehensive firmographic and demographic data directly to the Salesforce record.
Follow the instructions to:
- Enable the Data Integrity Update Button in Salesforce
- Use the Data Integrity Update button in Salesforce
Enable the Data Integrity Update Button
| Step | Description | Details |
|---|---|---|
| 1 | Log in | Log in to Salesforce.com with your admin user credentials. |
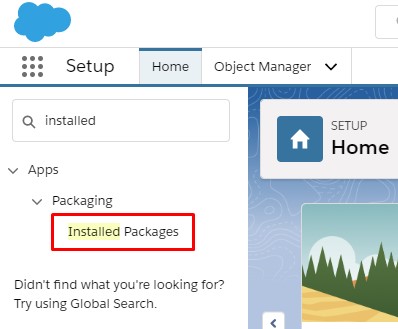
| 2 | Go to installed packages | Go to Setup and in the quick search bar type installed packages as illustrated:
|
| 3 | Configure the InsideView package | Find the InsideView for AppExchange package and click Configure.
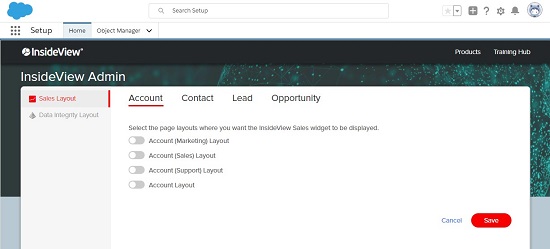
The InsideView Admin page opens:
For each entity (Account, Contact, Lead, Opportunity), choose which of the default page layouts you would like to add the InsideView Sales CRM view and click Save. |
| 4 | Enable the InsideView CRM View | Click the Data Integrity Layout tab and select the page layouts in which you want to add the Data Integrity Update button.
In this example, the update button is enabled in the Account Layout in both the Classic Salesforce experience:
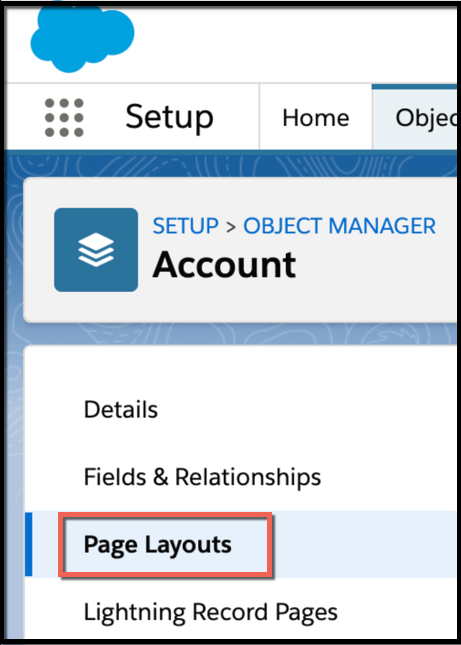
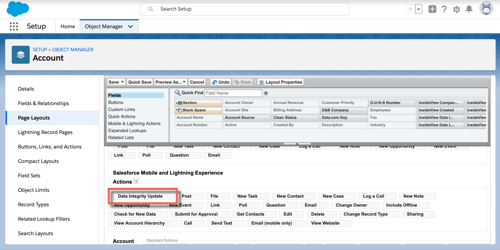
Click Save. To enable this button in the Lightning experience, complete the following steps:
|
| 5 | View the Data Integrity CRM View |
To verify, open an Account record and you will see the Data Integrity Update button at the top of the account record.
Repeat the above steps for Contact and Lead layouts. |
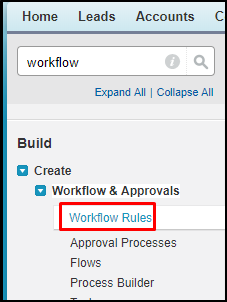
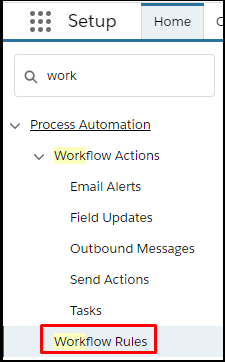
| 6 | Enable workflow rules | To enable the Data Integrity workflow rules, follow these steps:
|
| 7 | Verify configurations |
A Salesforce administrator must ensure that all User Profiles that have permission to create Accounts, Contacts, and Leads with the Send Outbound Messages permission is enabled.
|
