Configuring InsideView Enrich in Eloqua is a one-time process at the account level that must be performed by a system administrator or a user having Customer Administrator's security group permission. The configuration will automatically create two fields in the Custom Field Mapping section:
- InsideView Data Last Updated
- InsideView Match Status
Note: The system will produce errors if a user who does not have Customer Administrator's security group permission to carry out this configuration.
If your organization restricts network access to third party applications, please ask your IT administrator to add the following IP address ranges to allow updates from InsideView:
-
52.4.63.192 to 52.4.63.223
-
64.56.203.0 to 64.56.203.255
Follow the steps below to configure InsideView Enrich in your system:
| Step | Description | Details |
|---|---|---|
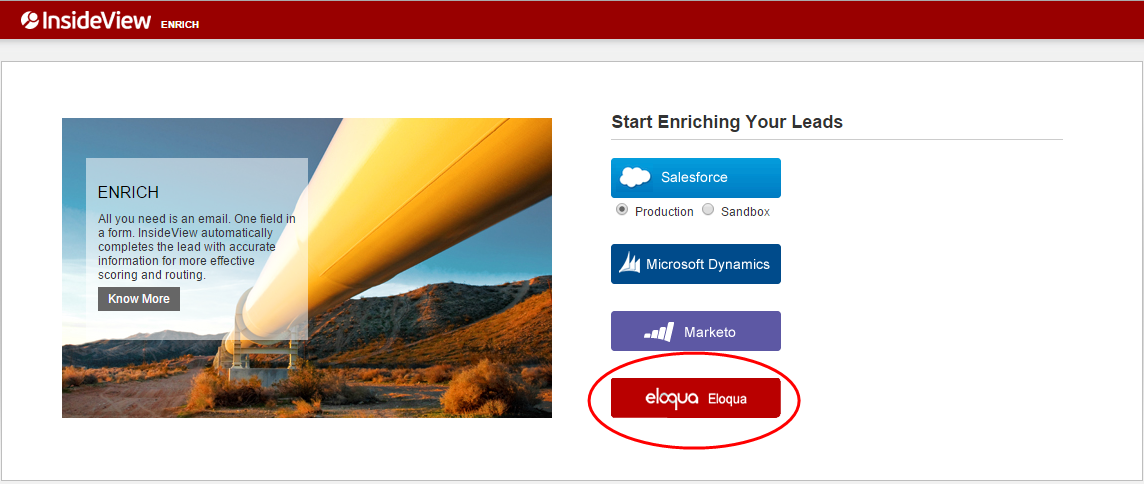
| 1 | Go to the Sign Up page | Go to the InsideView Enrich sign-up webpage: https://marketing.insideview.com/marketing/admin/signin and click Eloqua.
|
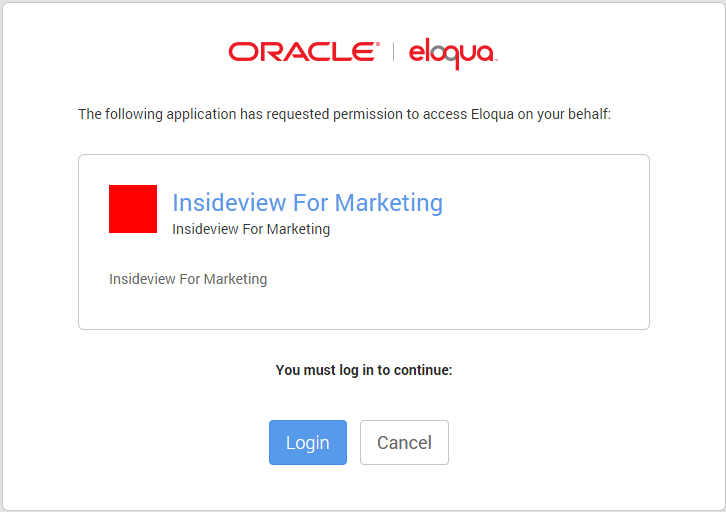
| 2 | Log in | Click Login.
|
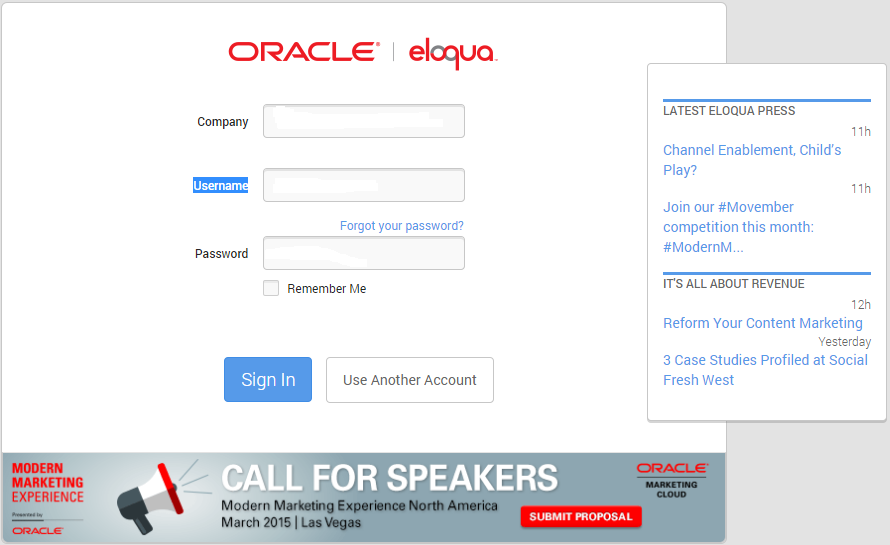
| 3 | Enter login credentials | Enter your credentials and click Sign In.
Note: This screen will be bypassed if you are already logged into Eloqua.
|
| 4 | Contact your CSM | When you configure the system the first time, the screen below displays indicating that your authorization is pending approval. You must contact your InsideView Customer Success Manager (CSM) to get the request approved.
|
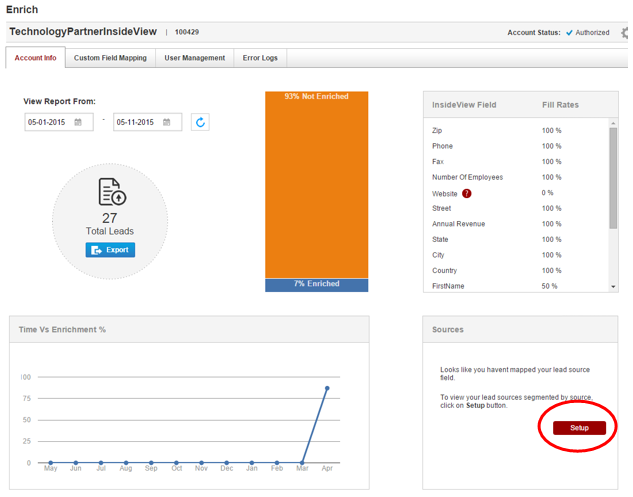
| 5 | Select the source link | After the authorization, if you are logging in for the first time and haven't defined the lead sources for your InsideView Enrich account, the Sources setup message appears at the bottom of the page:
|
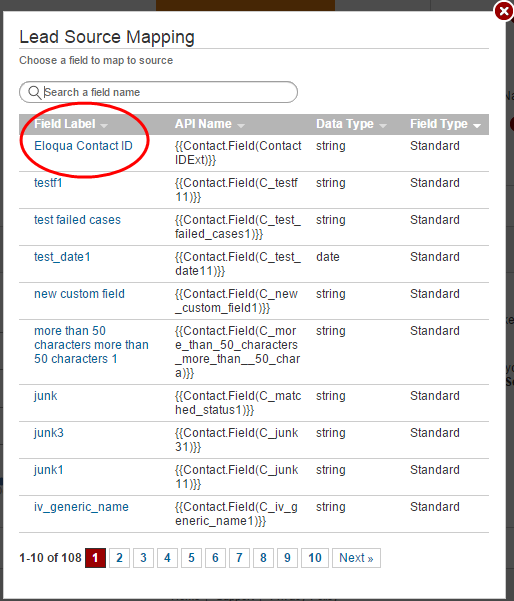
| 6 | Map any field | Click Setup to map any field from Eloqua as a source field for receiving the lead data as illustrated below:
For instance, click on Eloqua Contact ID field to map it as a lead source. |
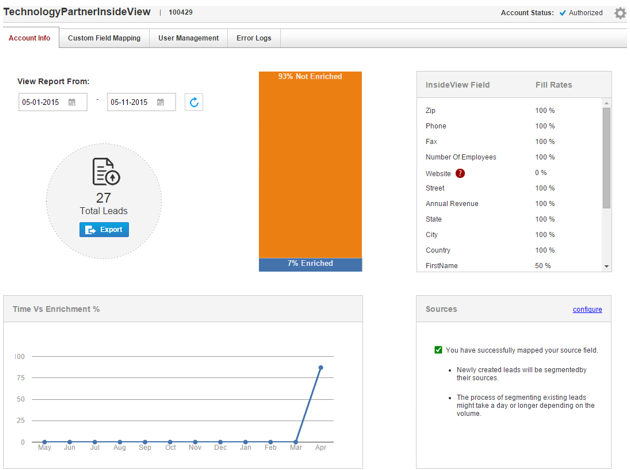
| 7 | Review the message | Once the lead source field is mapped successfully, the following message appears:
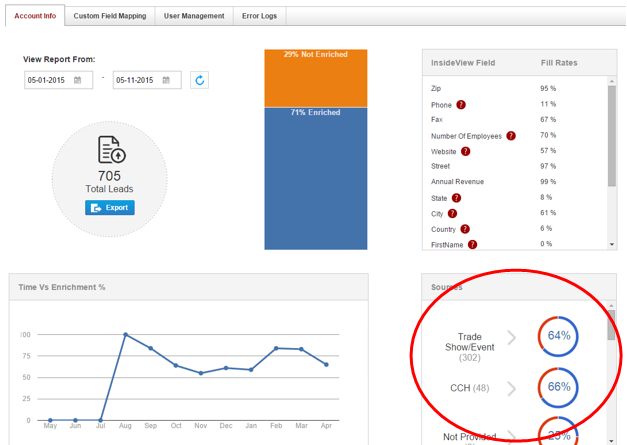
You can map any number fields as a lead source in InsideView Enrich for Eloqua and view the data retrieved from mapped fields on the InsideView Enrich dashboard as illustrated below:
|
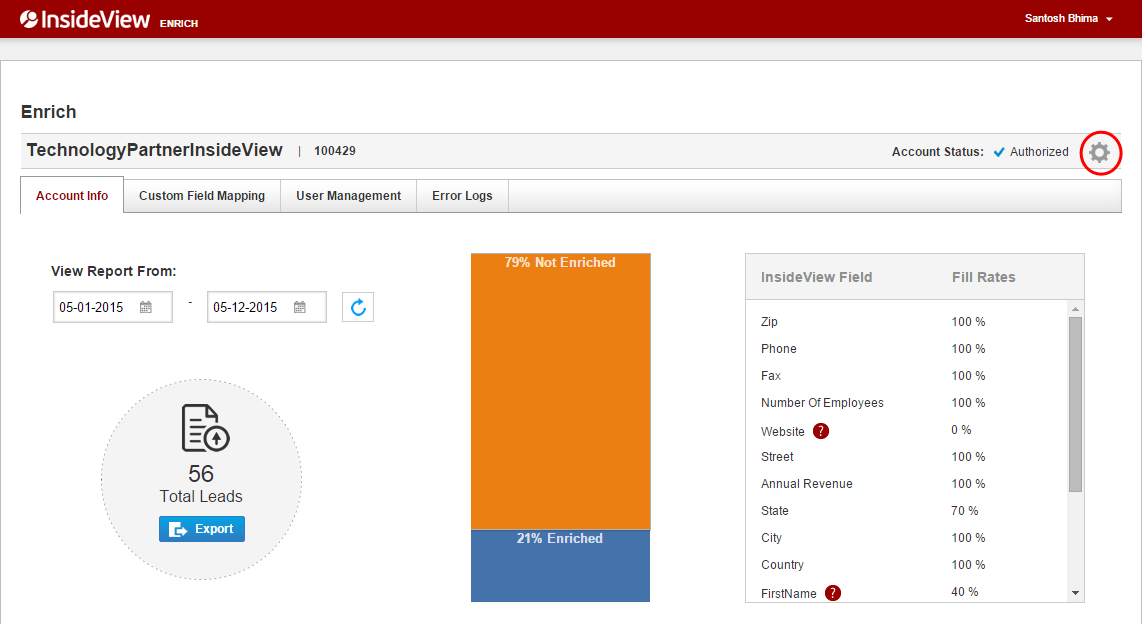
| 8 | Go to the Settings page | To define how frequently InsideView Enrich should poll your Eloqua instance for leads, click the Settings icon.
|
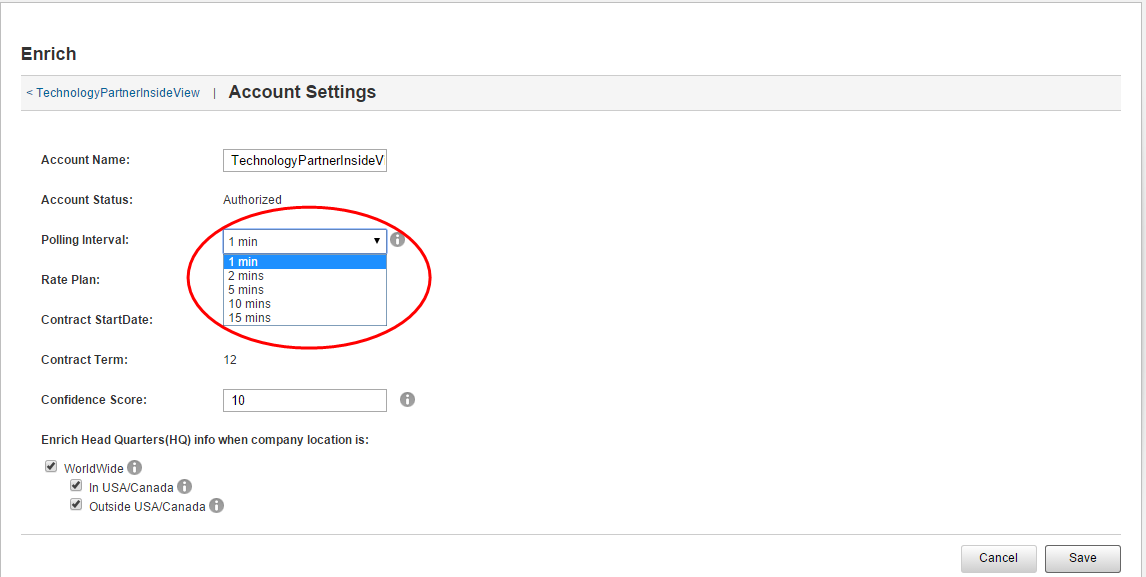
| 9 | Set the polling interval | On the Enrich page, select the number of minutes from the Polling Interval drop-down menu as illustrated below:
Note: InsideView Enrich will process leads depending on the polling interval setting with a maximum of 10000 leads processed in each instance. |
| 10 | Save | Click Save. |
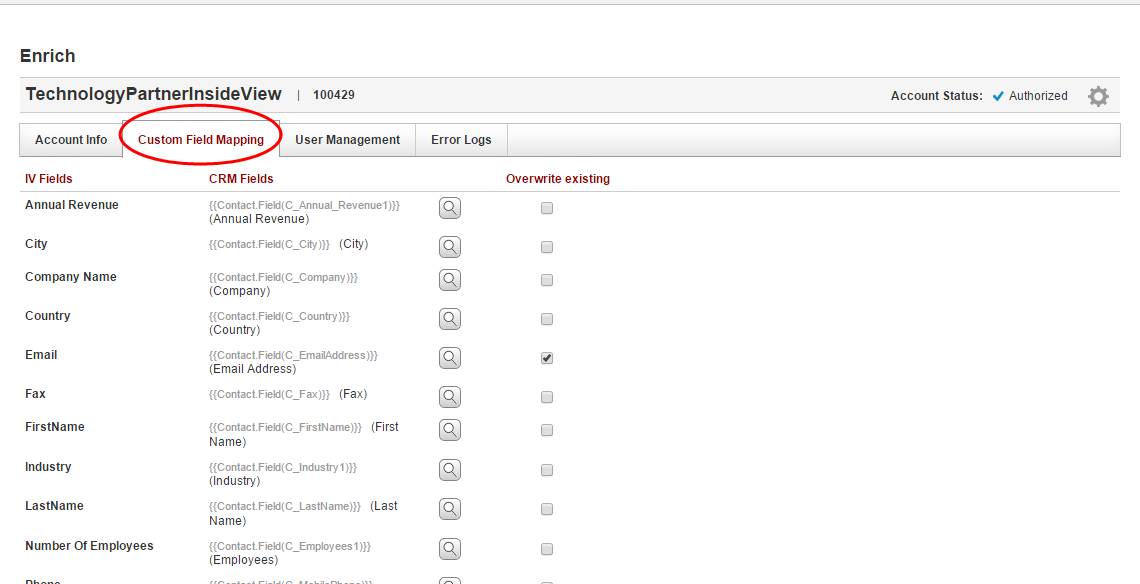
| 11 | Select the Custom Field Mapping tab | Return to the InsideView Enrich dashboard and click the Custom Field Mapping tab.
Note: The Overwrite Existing check box will work only with the default mappings. |
| 12 | Continue editing | Continue editing or configuring your custom field mappings. |
