Upgrading from Existing InsideView Sales, Enrich and Refresh to InsideView Data Integrity for Salesforce CRM

  • Updated

This article provides instructions to upgrade to the InsideView Data Integrity package. The following steps are applicable for customers who have purchased licenses for the following InsideView Product bundles:

  • InsideView Sales and InsideView Refresh
  • InsideView Sales, InsideView Refresh, and InsideView Enrich 
  • InsideView Sales and InsideView Enrich
  • InsideView Refresh and InsideView Enrich

Note: InsideView Data Integrity is supported only on Enterprise and Unlimited Editions of Salesforce CRM. 

If you are a new user or are using only InsideView Sales, please refer to the Best Practices to Set Up an Integration User in Salesforce CRM and  Setting Up an Integration for Salesforce CRM in Data Integrity Knowledge Base articles for installation instructions. To avoid any technical issues, follow the instructions in the exact sequence below:

Step Description Details
1 Backup your Salesforce Data Follow these steps to create a backup of your data:
  • Download Data Loader.
  • Login using Admin User credentials with OAuth permissions.
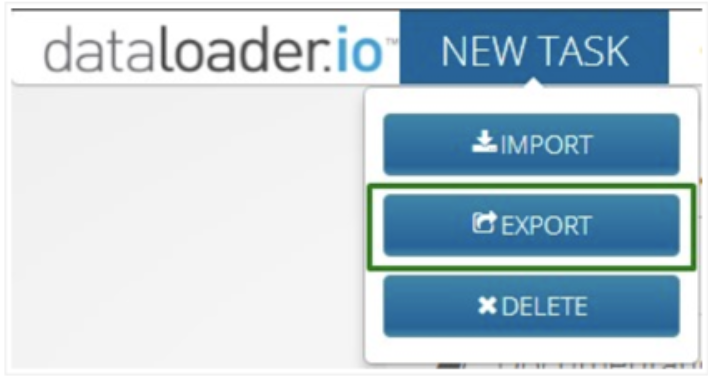
  • Click the Export button.

    mceclip0.png

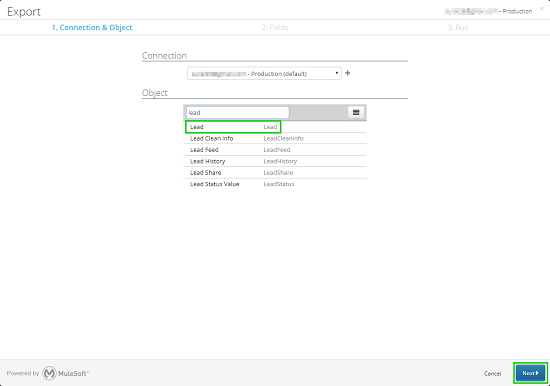
  • Select the Lead object and click Next.

    Lead_Obj.png

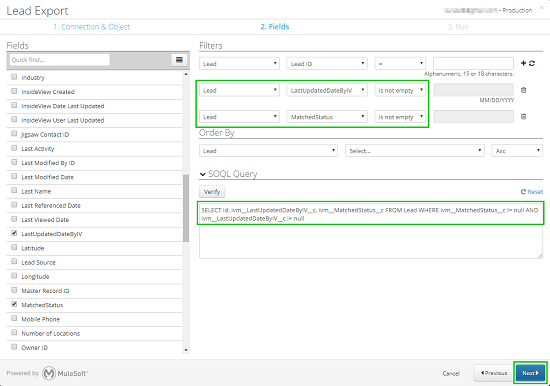
  • Select ID, LastUpdateDateByIV, and MatchedStatus fields for export and click Next.

    lead_query.png

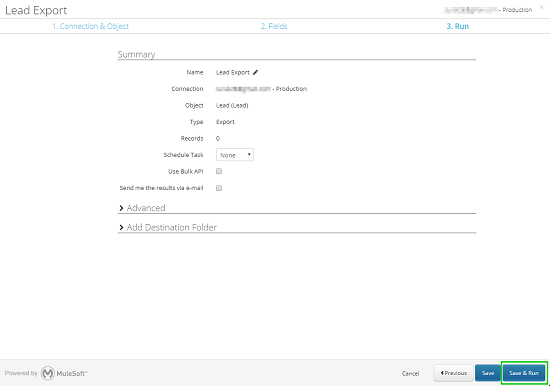
  • On the summary page, click Save & Run to export the data.

    summary.png

Note: Repeat the same steps above for account and contact records.
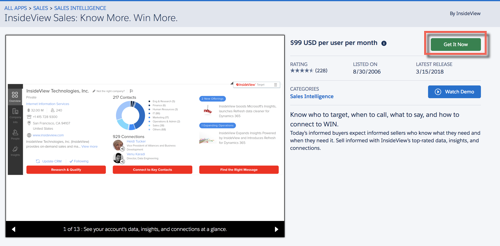
2 Update the InsideView Sales package Click here to find InsideView Unified package in Salesforce CRM and click Get It Now.

app_ex_get_small.png

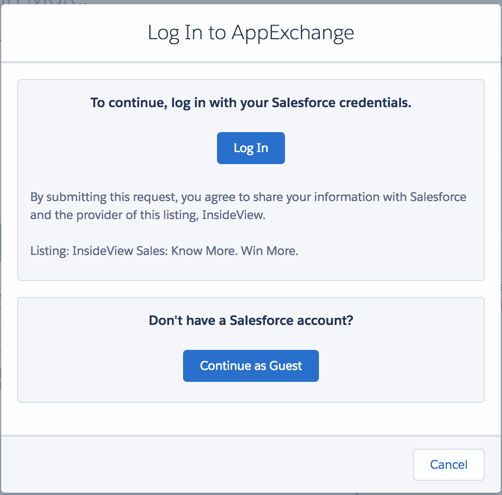
The Login page appears:

app_ex_login.png

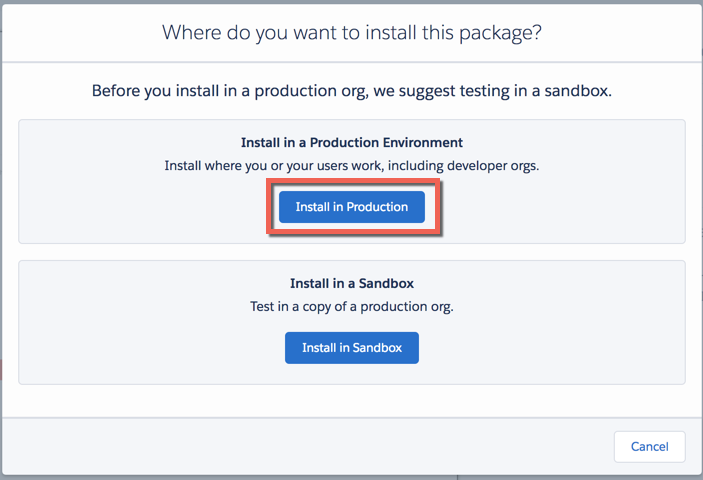
Log in to Salesforce CRM with admin user credentials and if redirected to InsideView Sales package page, click Get It Now again. Select the Install in Production option in the following screen appears:

app_ex_install_prod.png

Select the I Agree to the terms and conditions checkbox and click Confirm and Install.

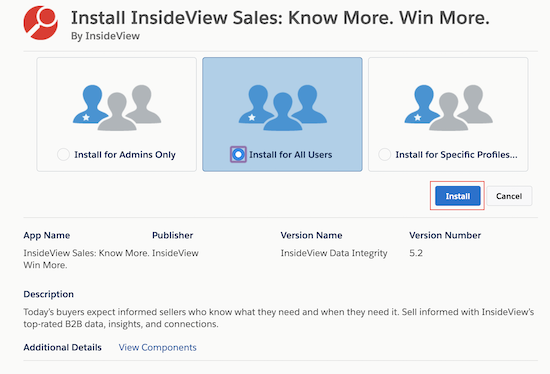
In the Installation page, select the Install for All Users option.

INstall_All_Users_copy.png

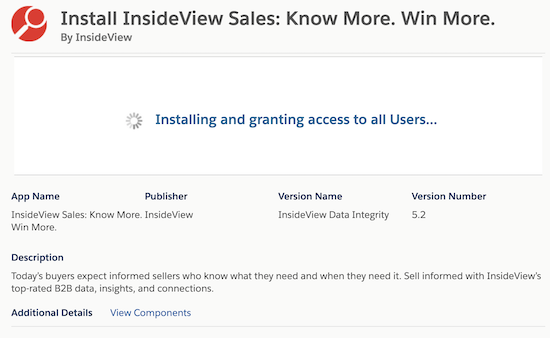
When you click Install, the installation process begins.

Installing_copy.png

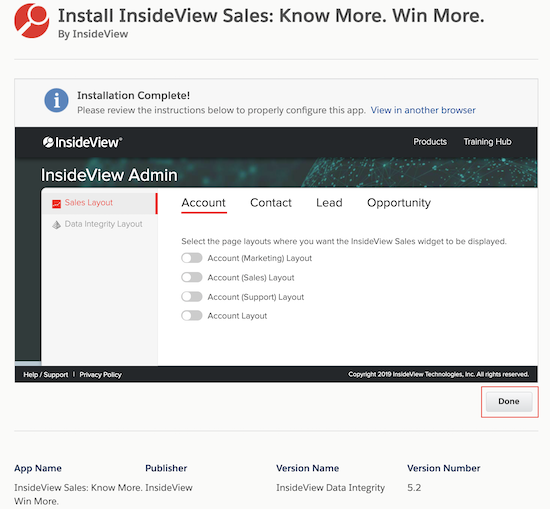
Once the installation is complete, click Done.

Done_copy.png

The InsideView Unified package is now displayed under the Installed Packages section.

3 Verify and Update the InsideView field references  After installing the InsideView package, when you log in to your Salesforce CRM the following custom fields are added to your CRM:

Account:

  • InsideView Company ID
  • InsideView Created
  • InsideView Data Integrity Status
  • InsideView Match Status
  • InsideView Date Last Updated
  • InsideView Ultimate Parent Company ID
  • InsideView Parent Company ID
  • InsideView User Last Updated
Contact:
  • InsideView Created
  • InsideView Date Last Updated
  • InsideView Data Integrity Status
  • InsideView Executive ID
  • InsideView Employment ID
  • InsideView User Last Updated
  • InsideView Match Status
Lead:
  • InsideView Company ID
  • Account
  • InsideView Data Integrity Status
  • InsideView Created
  • InsideView Employment ID
  • InsideView Date Last Updated
  • InsideView Match Status
  • InsideView Executive ID
  • InsideView Ultimate Parent Company ID
  • InsideView Parent Company ID
  • InsideView User Last Updated
If there are any rules defined on top of the InsideView fields, you must update those references to the new fields.
4 Disable the workflows rules Disable the following workflow rules for InsideView Refresh:
  • Refresh Outbound Rule for New Accounts
  • Refresh Outbound Rule for Accounts
  • Refresh Accounts Outbound Message
Disable the following workflow rules for InsideView Enrich:
  • Lead Outbound Rule (For New Leads Only)
  • Lead Outbound Rule
  • Lead Outbound Message
5 Enable InsideView Sales Workflow Rules Enable the following workflow rules for InsideView Sales:
  • InsideView Outbound Rule for Accounts
  • InsideView Outbound Rule for Contacts
  • InsideView Outbound Rule for Leads
  • InsideView Outbound Rule for Opportunities
6 Update the field mappings To update the field mappings between InsideView and Salesforce CRM, follow these steps: 
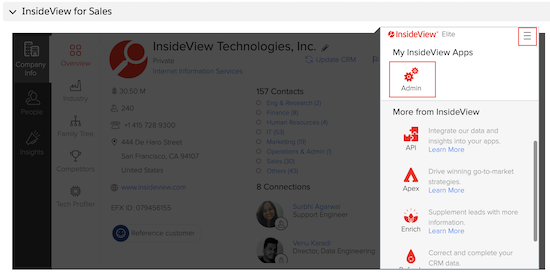
  • Open the InsideView CRM View and click on Admin.

    Go_to_Admin_copy.png

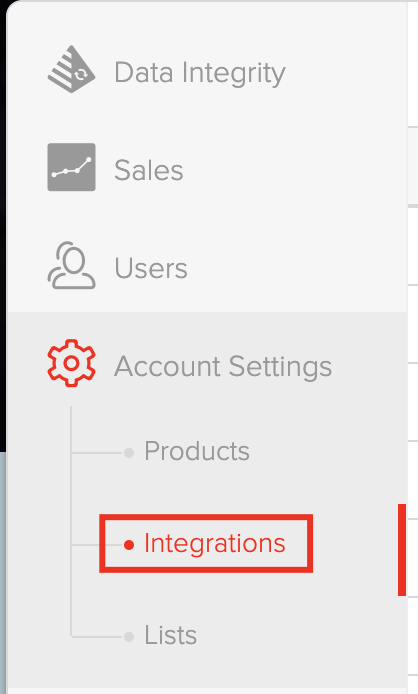
  • Click the Integrations link under Account Settings.

    Integrations.png

  • Follow the steps provided in the Setting Up an Integration for Salesforce CRM in Data Integrity Knowledge Base Article to set-up an Integration User.


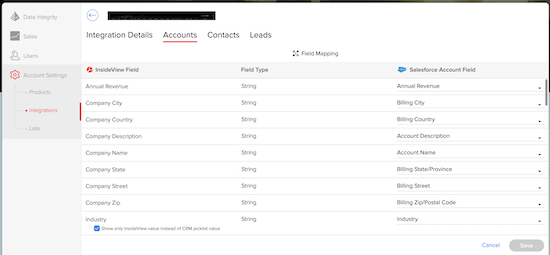
  • Select the Accounts, Contacts, and Leads tab to update the InsideView to Salesforce field mappings.

    Field_Mapping_copy.png

  • Once you have updated the field mappings, click Save.
7 Import the data back into Salesforce Follow these steps to import the data that you exported using instructions above, back into your Salesforce instance:
Note: Repeat the same steps for Accounts, Contacts, and Leads.
  • Log in to Salesforce Data Loader using Admin User credentials with OAuth permissions.
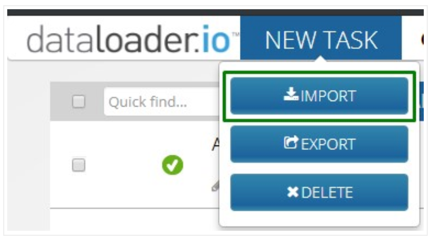
  • Select the Import task.

    import.png

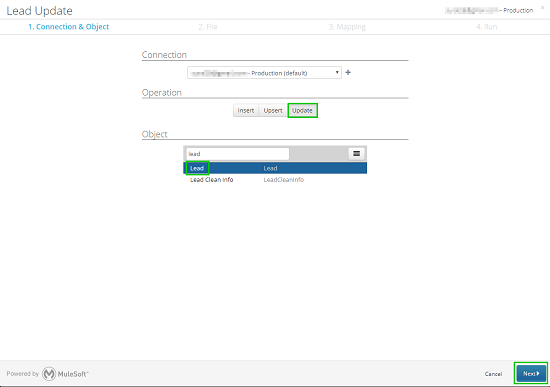
  • On the Connection & Object screen, select Update, and choose the Lead object.

    lead_import.png

  • Click Next.
  • In the next screen, upload the backup file that was created in Step 1 and click Next.
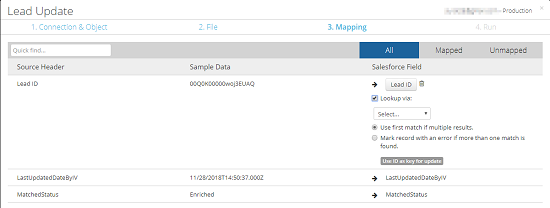
  • On the Mapping screen, map the Last Update Date By IV and Matched Status to the newly added custom fields as illustrated:

    lead_map.png

  • Click Next.
  • Review the summary provided on the next screen and click Save & Run.
Note: The data import process depends on the size of the data file that is to be imported.
8 Uninstall the existing Enrich and Refresh packages Follow these steps below to uninstall the InsideView Enrich package:
  • Log in to Salesforce with admin user credentials.
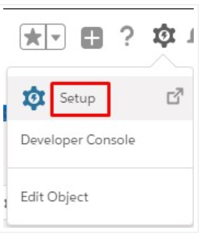
  • In the Lightning edition, click the Settings gear icon at the top of the screen and select the Setup option.

    apex_setup_new.png

    In the Classic edition, click the Setup option at the top of the screen.
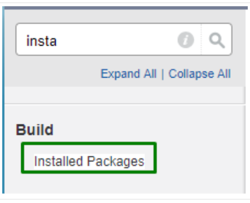
  • In the Setup page, type installed packages in the Search bar and click the Search icon.
  • Go to Installed Packages.

    apex_setup1.png

  • Find InsideView Enrich and click Uninstall.

    uninstall_LE.jpg

  • Follow the uninstallation prompts to complete the process.
  • Find InsideView Refresh and click Uninstall.
  • Follow the uninstallation prompt to complete the uninstallation process.
9 Complete the Data Integrity set up To complete the Data Integrity set up, refer to the steps provided in the Setting Up an Application User and Configuring InsideView Data Integrity in Microsoft Dynamics CRM Online and Setting Up an Integration for Salesforce CRM in Data Integrity Knowledge Base articles.
10 Disable data enrichment To disable data enrichment from InsideView Enrich and Refresh, follow these steps: 
  • Open the InsideView CRM View and click on Admin.

    Go_to_Admin_copy.png

  • Click the Integrations link under Account Settings.

    Integrations.png

  • Follow the steps provided in the Setting Up an Integration for Salesforce CRM in Data Integrity Knowledge Base Article to set-up an Integration User.
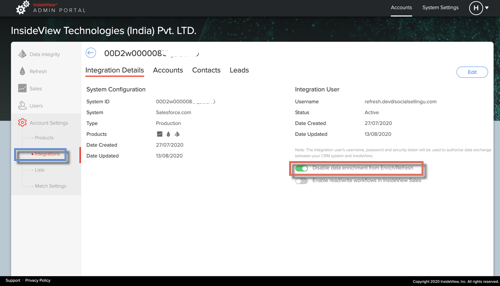
  • Select the desired Salesforce Integration and click the Integration Details tab to disable enrichment from InsideView Enrich and Refresh products.

    DI_Integration_small.png

  • Once you Disable data enrichment, InsideView Enrich and Refresh products changed in read-only mode.

    DI_Integration1_small.png

Was this article helpful?

0 out of 0 found this helpful