This article provides detailed instructions about how to review updates from InsideView Refresh based on field mapping settings that you define while creating a filter.
Note: When you accept an update from the InsideView Refresh dashboard, the data is synced into your Microsoft Dynamics CRM and you will no longer see that update on the dashboard. If you reject an update, it will also be removed from the dashboard.
| Step | Description | Details |
|---|---|---|
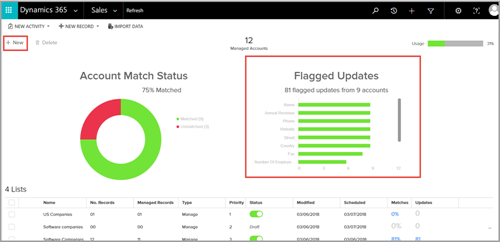
| 1 | Open Flagged Updates page | Log in to Microsoft Dynamics CRM and go to Sales > Refresh to launch InsideView Refresh dashboard.
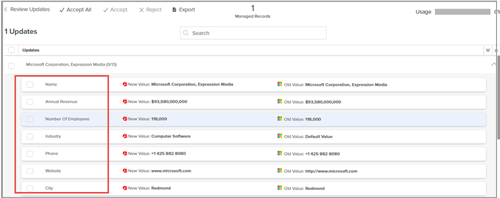
Click on any field in the Flagged Updates region to open the Review Updates page.
The Review Updates page appears.
|
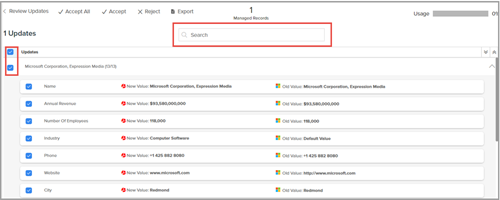
| 2 | Search for an update | In the Review Updates, use the Search field to filter the updates or select All updates check box or choose any particular update as illustrated:
|
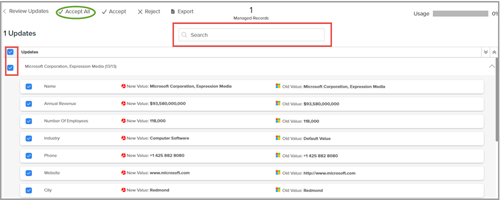
| 3 | Accept updates | To approve all updates to be pushed into your Microsoft Dynamics CRM, click Accept All.
To approve updates individually, select the check box on the left to the corresponding update(s) and click Accept. |
| 4 | Push updates | When you click Accept All or Accept, the Push Updates pop-up dialog appears.
Note: You will receive an email when InsideView Refresh has some updates to review. |
| 5 | Reject updates | To reject updates being pushed into your CRM, click the check box to the left of the corresponding update(s) and click Reject.
|

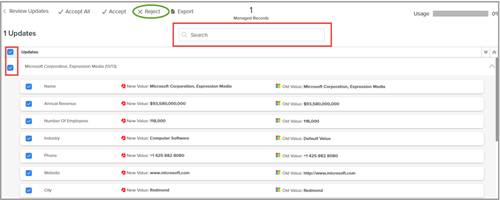 When you click Reject, the update(s) are removed and you will no longer see that update(s) on the dashboard.