The CRM Integration and an application user is required for any organization to create a communication channel between InsideView Data Integrity and Microsoft Dynamics CRM Online.
Note:
- You must first install the InsideView Insights Package in Microsoft Dynamics then set up an Integration for Microsoft Dynamics CRM in Data Integrity. To learn more how to install InsideView Data Integrity, read the article Installing InsideView Data Integrity in Microsoft Dynamics CRM Online editions in our Knowledge Base.
- InsideView Data Integrity supports only the latest version of Microsoft Dynamics CRM Online edition. An integration setup can be created and configured by a Microsoft Dynamics CRM System Administrator.
You can create an integration between InsideView Data Integrity and Microsoft Dynamics CRM using these options:
- Create a New Integration for Data Integrity
- Create New Processes using Quick Setup
- Edit the Display Name for an Integration
Note: The Quick Setup is visible only after you set up an integration, including the application user, which is fully configured and linked to InsideView Data Integrity.
Create a New Integration for Data Integrity
| Step | Description | Details |
|---|---|---|
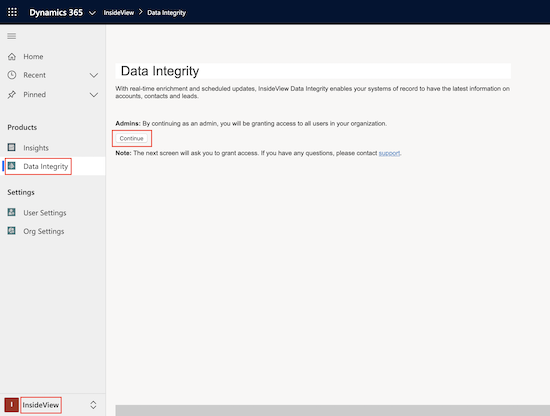
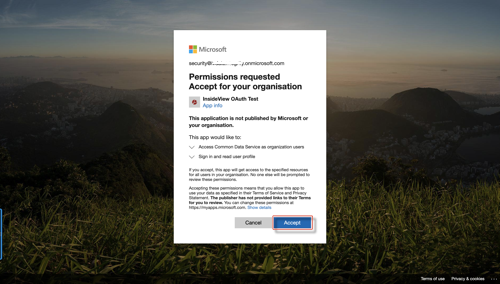
| 1 | Allow access to Data Integrity | Once you install the latest InsideView Data Integrity package, navigate to InsideView Products Data Integrity. You will be asked to authorize the app. Click Continue.
Once you click Accept, you can access InsideView Data Integrity in your Microsoft Dynamics CRM and configure Dynamics CRM integration in InsideView Unified Portal. |
| 2 | Go to the Data Integrity settings | Once your InsideView Data Integrity account is granted access, log in to Microsoft Dynamics CRM Online with administrator user credentials and click the InsideView Data Integrity tab. |
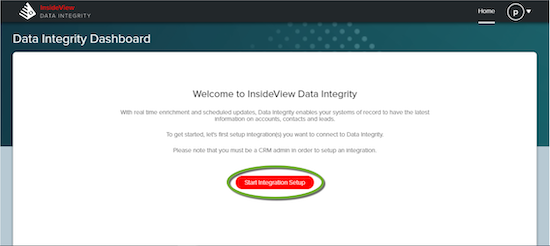
| 3 | Create a new integration | Then click Start Integration Setup.
Note: This screen will appear only after an InsideView CSM provisions InsideView Data Integrity product for your account and users.
|
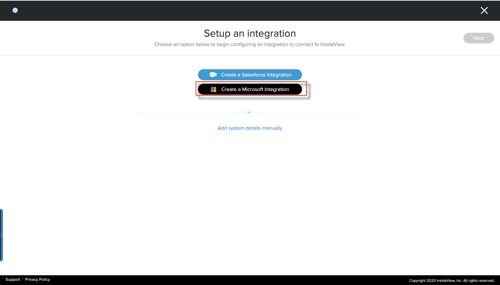
| 4 | Select the integration details | In the Setup an Integration page, enter the following integration details:
Note: You have an option to create a new Microsoft Dynamics CRM Integration or Link an Existing Integration.
Note: In this article, you will learn to create a new integration.
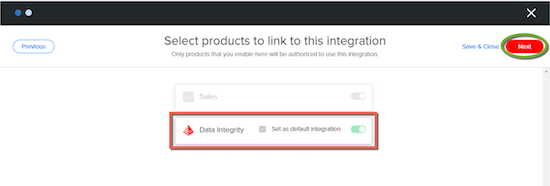
In the Select the Products page, the Data Integrity product is enabled as illustrated:
Click Next. |
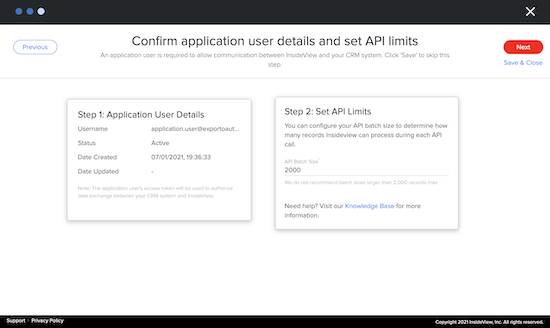
| 5 | Enter the application user details and set API limits | In the Setup an Integration page, enter the new username and password and enter the Set API Limits value.
Note: InsideView will check the Data Integrity installation details and if the package is not installed, you will be redirected to download and install the latest package. |
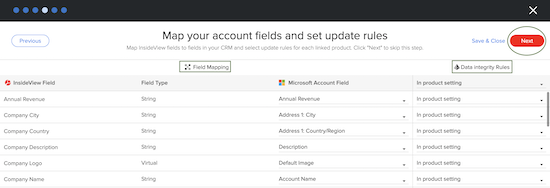
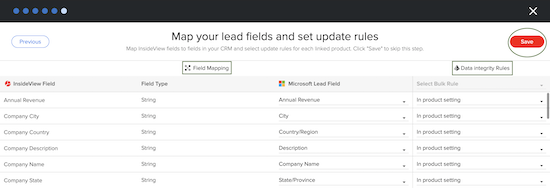
| 6 | Select field mappings and set update rules | When you have installed the package, you can select the field mappings and set update rules for Accounts, Contacts, and Leads
It is recommended to add the following fields to the page layouts for each supported objects in Microsoft Dynamics CRM:
These fields are important in helping you to identify the Data Integrity status of the record. Note: Change the InsideView Data Integrity Status field to Not Managed and the InsideView Match Status field to Unmatched for all existing records before executing any Data Integrity processes in the instance. Account Field Mappings
Contact Field Mappings
Lead Field Mappings
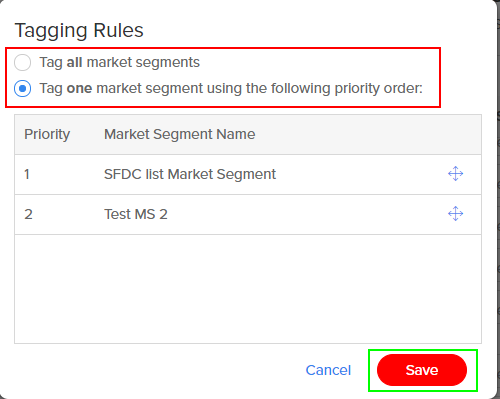
You can add custom settings for Picklist, Market Segment, and Technology fields as below:
Once you have selected settings for Field Mappings and Data Integrity Rules, click Next. |
Create New Processes using Quick Setup
Once your integration setup is complete, to create new processes for Accounts, Contacts and Leads using the Quick Setup card, follow these steps:
| Step | Description | Details |
|---|---|---|
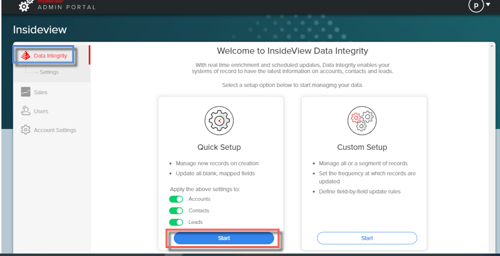
| 1 | Go to Quick Setup card | Log in to InsideView Unified Admin Portal and go to Data Integrity and select Quick Setup card and click Start.
|
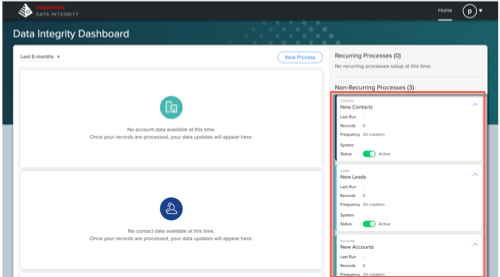
| 2 | Create new processes | Once you click start, new non-recurring processes for Accounts, Contacts, and Leads are created as illustrated:
|
| 3 | Manage Process | In any Process card, you can perform the following actions:
|
Edit the Display Name for an Integration
To edit the display name for your Microsoft Dynamics Online CRM Integration, follow the steps below:
| Step | Description | Details |
|---|---|---|
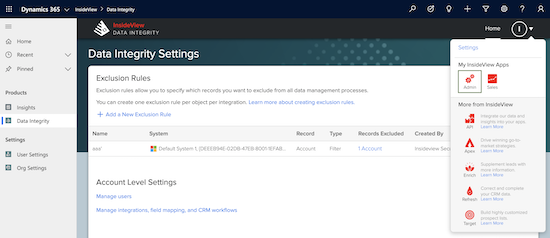
| 1 | Go to the Settings | Log in to Microsoft Dynamics Online CRM and click the Profile Dropdown icon and select the Admin option.
|
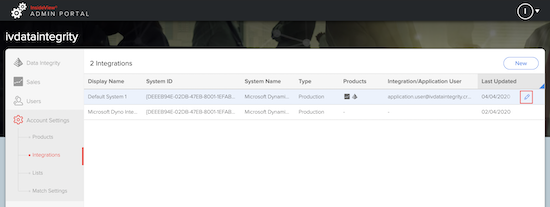
| 2 | Edit integration | In the Account Settings page, click the Integrations tab. Hover over the Integration that you wish to edit and click the pencil icon.
|
| 3 | Change the integration details | In the Edit Integration dialog, change the display name and click Next.
Select the Data Integrity product and click Next.
|
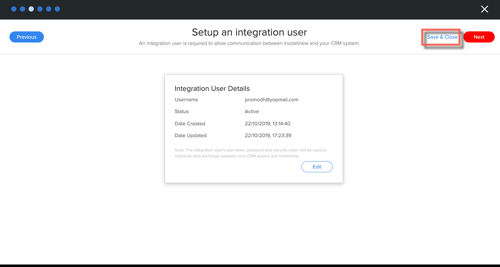
| 4 | Review integration details | If you want to exit the wizard at any time, click the Save & Close link.
|




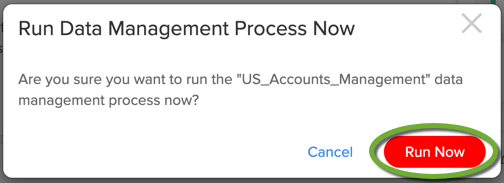
 icon to run the process and then in the Run Data Management Process Now dialog, click Run Now.
 icon to edit the process. For more information, read the article
  icon to delete the process.