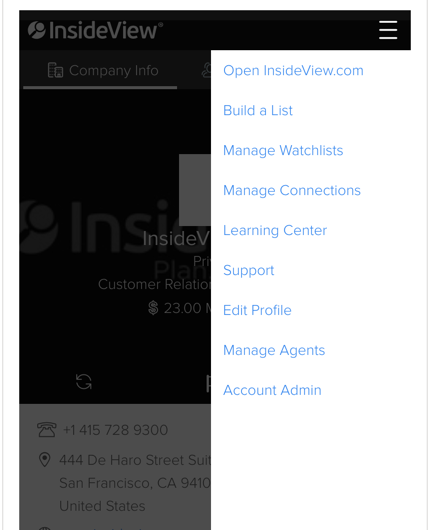
Demandbase lets you view detailed information about companies and contacts that you wish to target for business conversations in small page widths.
Follow the instructions in the sections below to use all features in Demandbase in a small page width (less or equal to 680 px) view:
- View Information About Prospect Companies
- Engage with Contacts
- View News and Social Insights
- Manage Profile Information
Note: The Responsive View feature is supported only in Salesforce CRM's Lightning edition and Sugar CRM 8.0 version.
View Information About Prospect Companies
Demandbase lets you know more about your prospect companies in small page view. Here's how you can view prospect company's information:
| Step | Description | Details |
|---|---|---|
| 1 | Search for a Company | Log in to Salesforce CRM with your admin user credentials, complete the following steps:
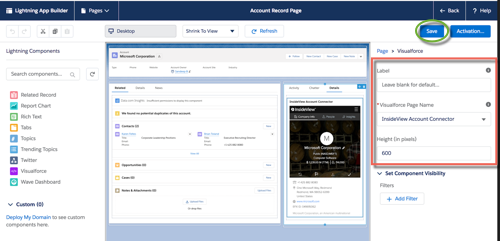
In the Lightning App Builder, make sure you have configured to Demandbase in Small Page width as illustrated:
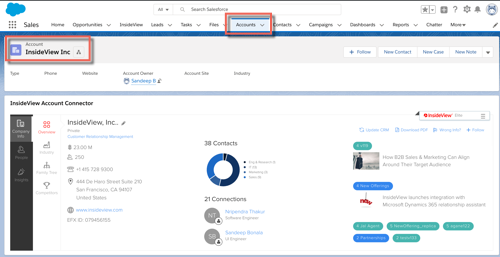
In Salesforce CRM, go to the Accounts page and click the Account link that you wish to view. For example, select the InsideView, Inc company page.
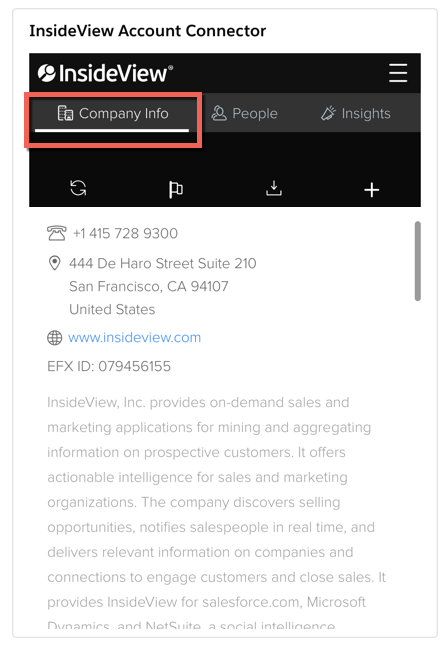
In the Small Page view, click the Details tab and select the Company Info tab to view company's information. You can perform the following actions in the Responsive View:
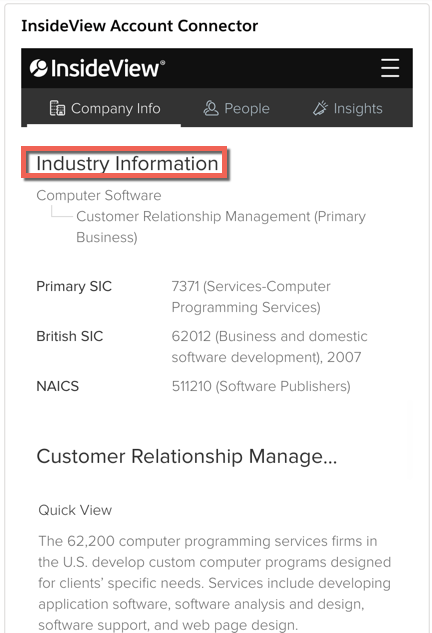
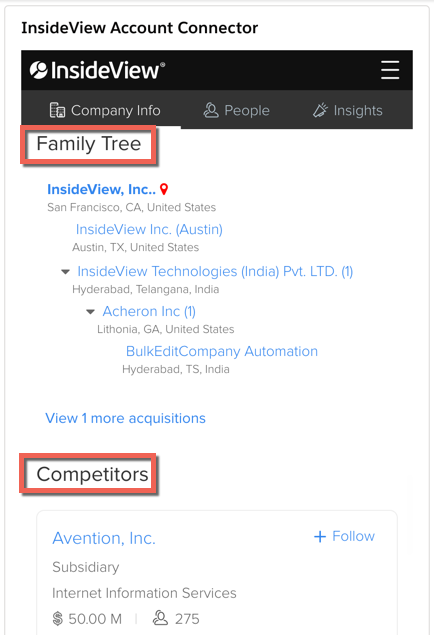
Note: In order to offer desktop-like experience, the responsive framework will show a scroll in the Demandbase Summary view less than 680 px of width in any supported CRMs. In the Company Info page, you will see the company's firmographic data and description when you scroll down. You can also click the People tab to connect with right contacts and click the Insights tab to view real-time news and social insights. |
| 2 | View the company information | Go to the Company Info screen by following the step 1.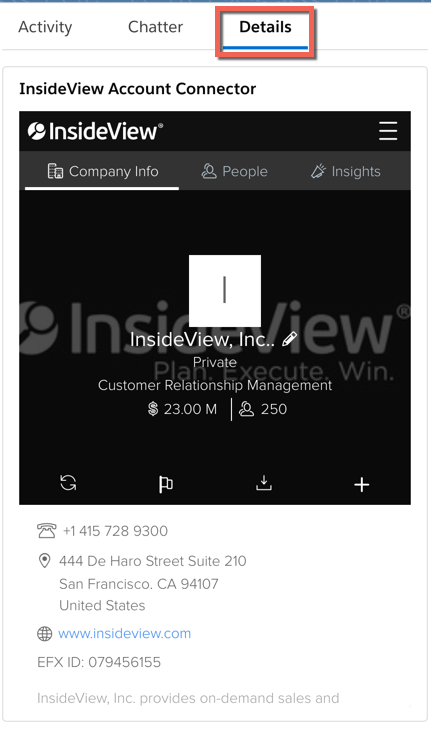
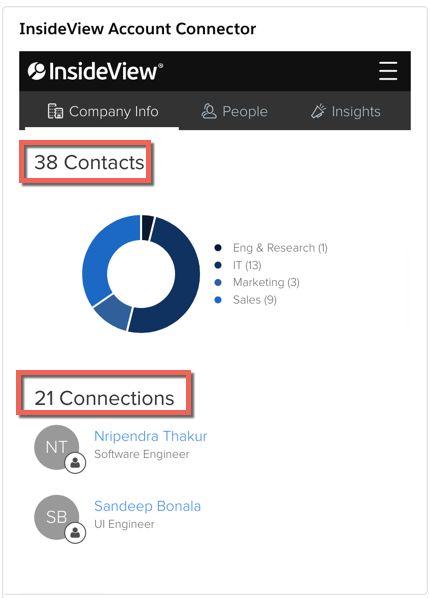
In the Company Info tab/page, you will see the following information: Scroll down to view the company's data.
|
| 3 | Add Connections | If there are no contacts and connections found for a particular company, click the Add a person working at this company or Locate possible connection link.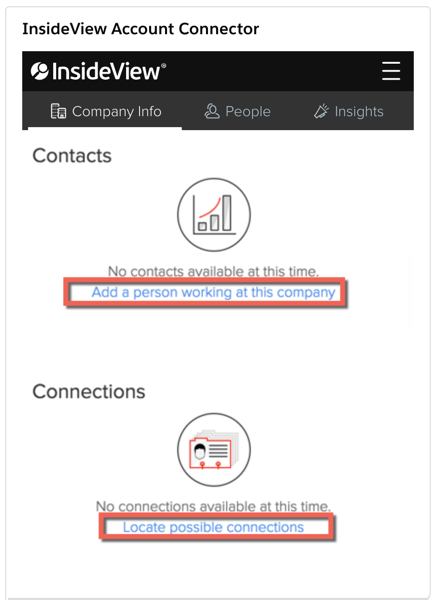
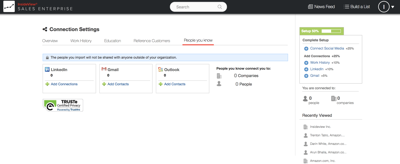
Once you click the link, you will be redirected to the Connections page in Sales Intelligence where you can add your connections from Gmail, Outlook, LinkedIn and your personal connections. For more information, read the article Setting Up Demandbase Connections in our Knowledge Base. After you have added contacts, the following donut chart appears for contacts with their job function percentage: |
Engage with Contacts
Demandbase lets you view contacts and engage with them to start your business conversations. Here's how you can view contacts working at your prospect company:
| Step | Description | Details |
|---|---|---|
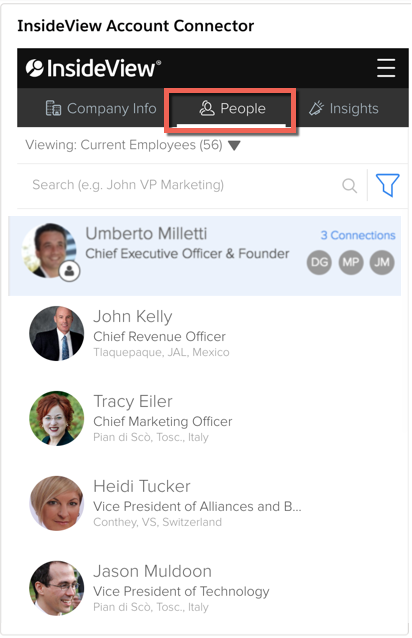
| 1 | View Executive Information | Go to the Company Detail page by following instructions in step1 of the previous section and click the People link as illustrated:
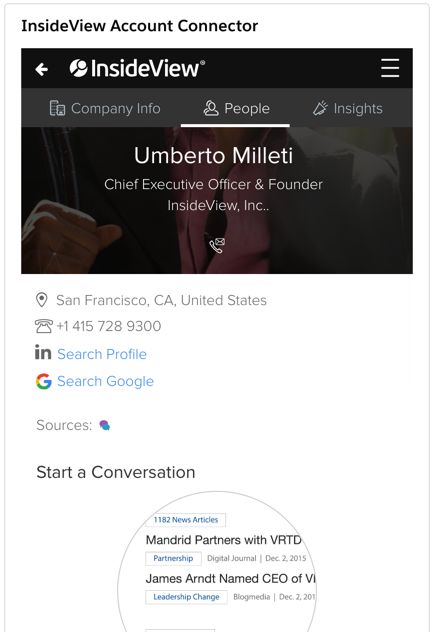
In the Executive Detail screen, you will see the contact information which you can use to start your business conversations. Scroll down to find more details about an executive.
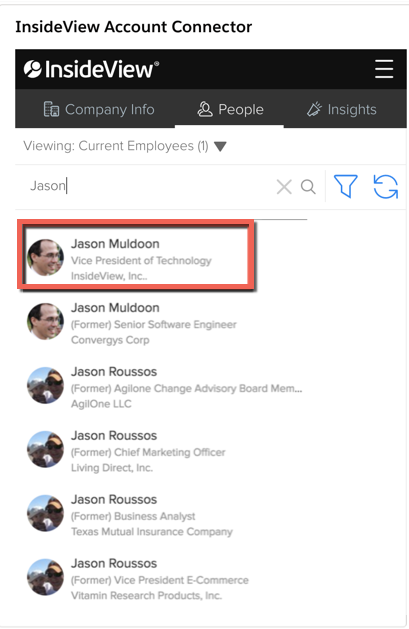
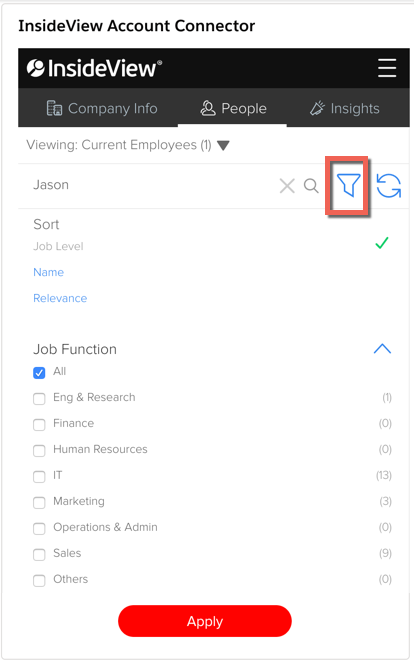
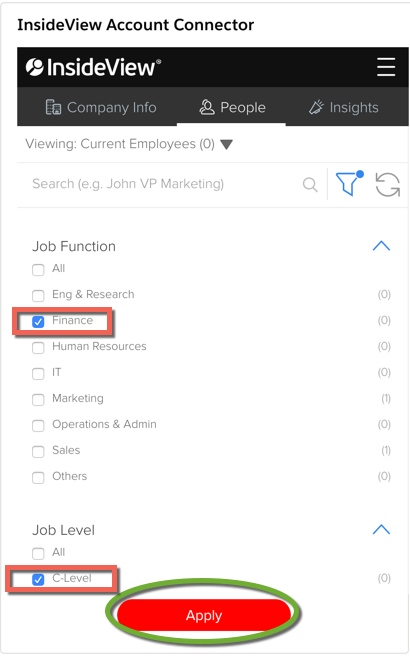
To find a particular contact, enter the name of that person. For example, when you enter Jason, you will see type ahead suggestion of contacts whose name starts with Jason. Select the contact and click on the name as illustrated below: In the People tab of any company, you can filter people list using the list type, sort by Job Level, Name or Relevance and Job Function by clicking the Click to select the Job Function and Job Level filter as illustrated below:
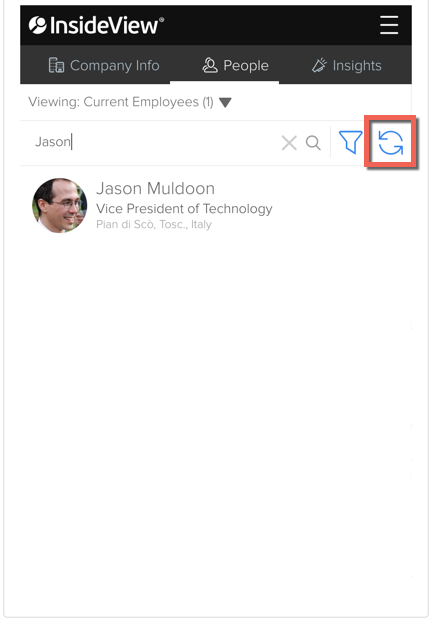
Click Apply to save changes. To sync or update multiple contacts to your Salesforce CRM, click the Update CRM
In the Update CRM page, select that fields that you wish to update with Demandbase data and click Update Contact to update executive details. |
| 2 | View the contact information | Go to the Executive Detail screen by following the step 1:
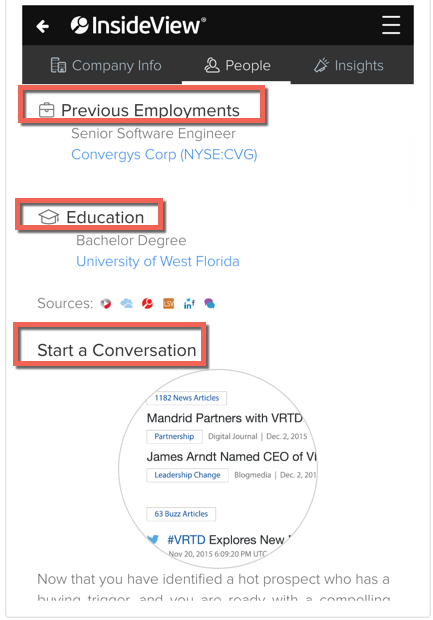
In the Executive Detail screen, you can view the following contact information: Scroll down to view the contact's data.
Note: If your Facebook and Twitter accounts are not configured, you will see options to sign-in to Facebook or Twitter to see contact's social insights. |
| 3 | View Connections | In the Executive Details screen, click the View Connections link.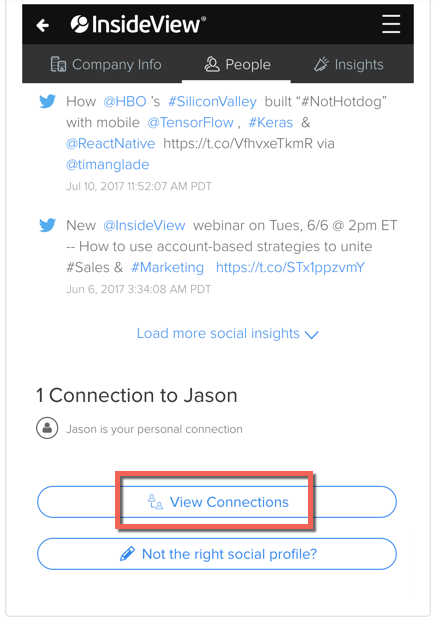
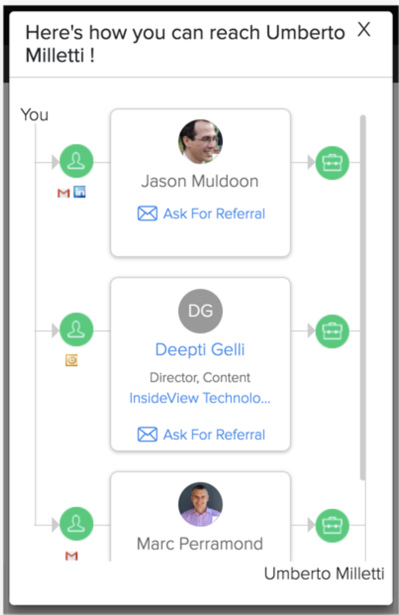
Note: Once you have added your connections, it will be visible in the Executive Details screen. In this screen, you can see how you are connected to a contact at your prospect company. The following screen appears: Click the Ask for Referral link to send email to your connections requesting for referrals. |
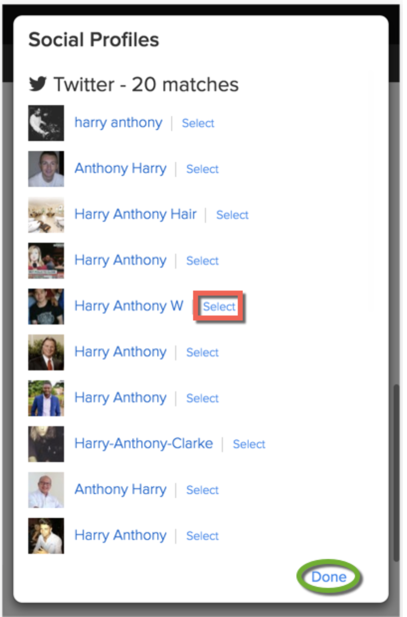
| 4 | Report incorrect social profile | If you think the executive's social details are incorrect, click the Not the right social profile? link to find the matches in the Demandbase database.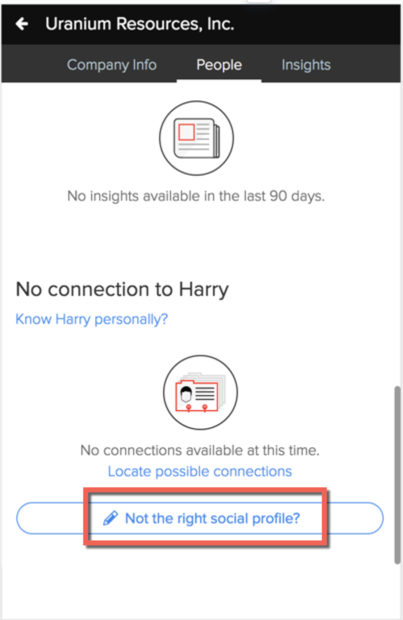
To select the correct match, click the Select link and click Done. |
View News and Social Insights
Demandbase lets you view news and social insights for contacts and companies from various sources of news and social media profiles on Facebook and Twitter. This information helps you to keep track of your prospects with their latest happenings. Here's how you can view news and social insights:
| Step | Description | Details |
|---|---|---|
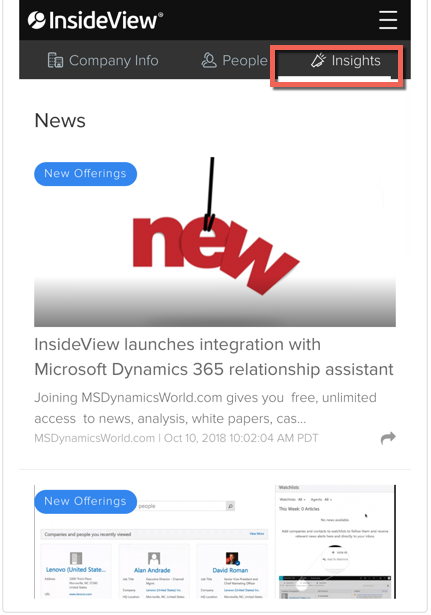
| 1 | Go to the Insights tab | Go to the Company Detail page by following instructions in step1 of the previous section and click the Insights link as illustrated:
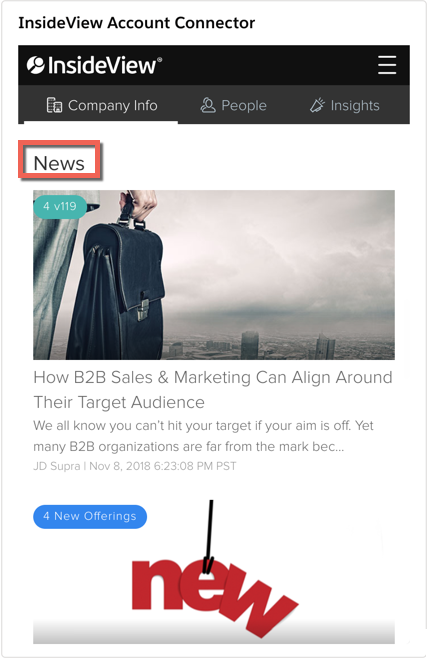
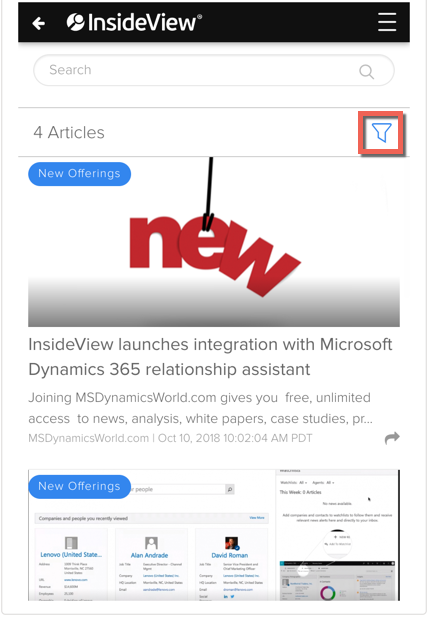
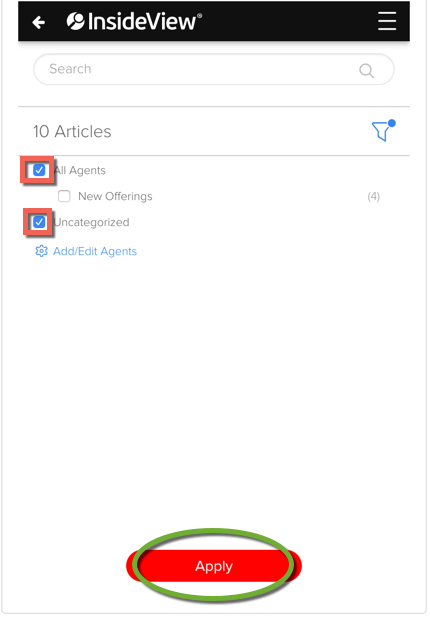
Click the View More link to view more news feed. To see news on specific business triggers, click the Click to select the desired news agents and click Apply to save changes. Note: You can also add new agents or edit existing ones by clicking the Add/Edit Agents link. |
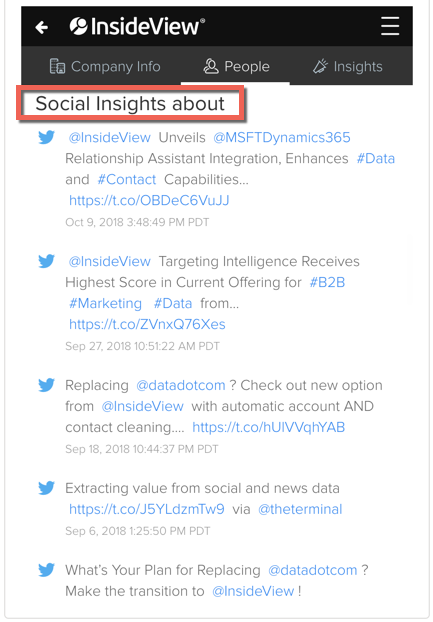
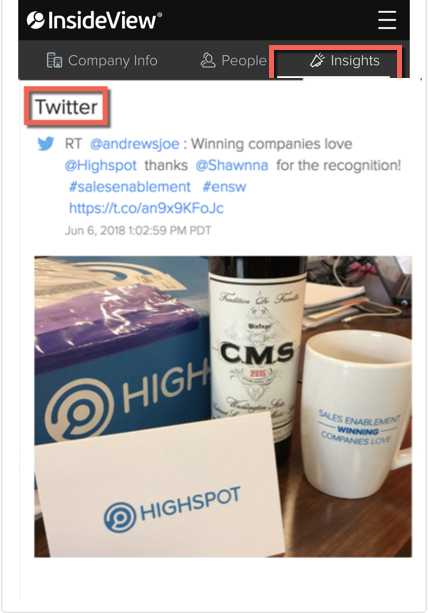
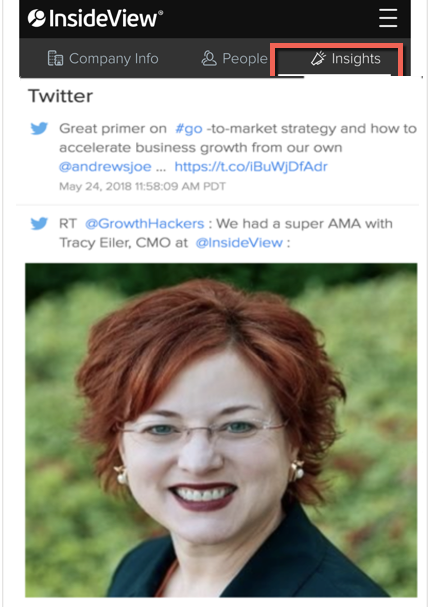
| 2 | View Company Insights | In the Insights screen, you can view the following news and social media feeds:
|
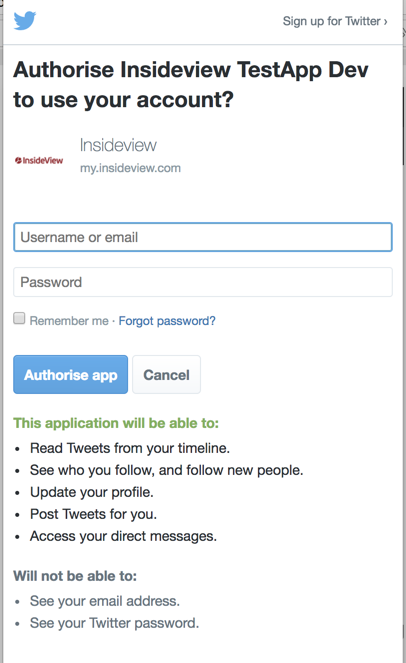
| 3 | Configure Twitter account | If your company's Twitter account is not configured and when you click Connect to Twitter, the following screen appears:
Click Authorize App to see tweets from the company's Twitter account. |
| 4 | Configure Facebook account | If your company's Facebook account is not configured, the following screen appears.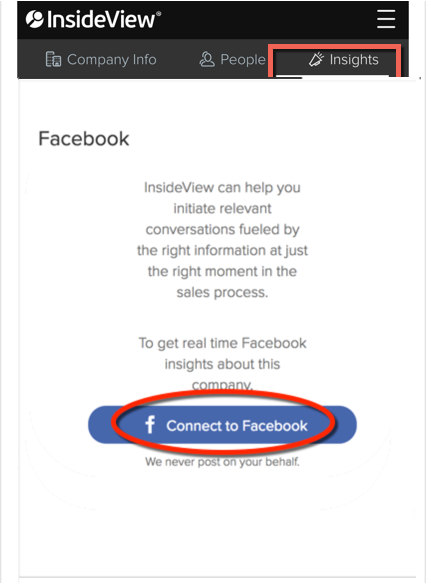
When you click Connect to Facebook, the following screen appears: |
Use Global Menu
Demandbase lets you use the Global Menu to edit profile, manage watchlists, connections, agents and account administration. Here's how you can manage profile details:
| Step | Description | Details |
|---|---|---|
| 1 | Go to the Profile screen | Go to the Company Detail page by following instructions in step1 of the previous section and click the Profile
In the User Profile screen, you can click following links and manage your profile in the web view:
|


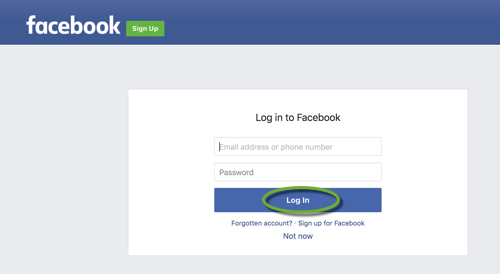 Log in user your Facebook user credentials and click Authorize App to see posts from the company's Facebook account.